
How to manage X3 services add-ons
You can use X3 services add-ons to extend X3 services functionality for specific folders within a deployment.
Each folder can use a different set of add-ons, which allows different configurations within the same deployment.
Before you start
To use X3 services add-ons, the deployment must run:
-
X3 services version 64.0.75 or later
-
Sage X3 2026 R1 or later
If the deployment version is not compatible with the add-ons feature, the Partner Portal displays a warning.
Create an X3 services add-on build
Create an add-on package in X3
-
Open X3.
-
Go to Development > Data and Parameters > API.
-
Create a new package for the add-on.
Upload the add-on package
Upload the add-on package to the FTP endpoint for the target deployment and folder.
Path: x3-services-addons/<deploymentId>/<folder>.
Start a build
-
Open the deployment in the Partner Portal.
-
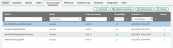
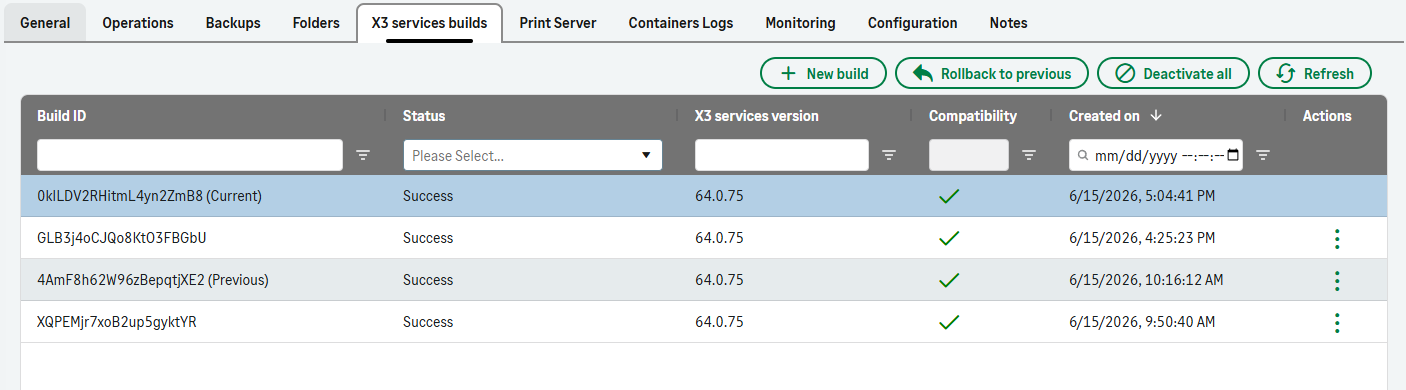
Go to the X3 services builds tab.
-
Select New build.
-
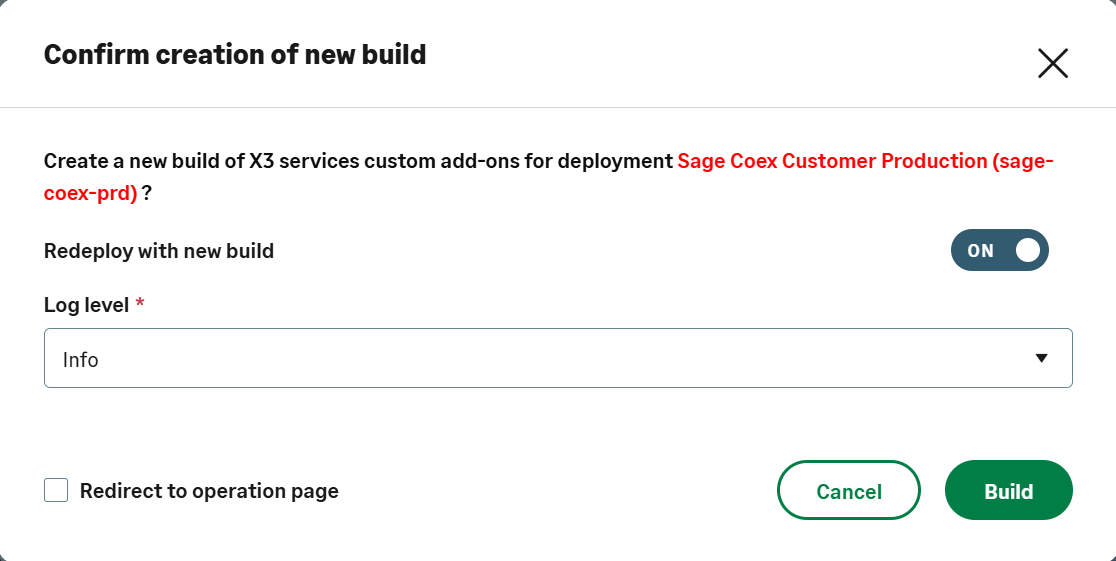
Configure the build:
-
Enable Redeploy with new build if you want X3 services to restart automatically after a successful build.
-
Select the log level.

-
-
Select Build.
If you selected Redeploy with new build and the build succeeds, X3 services restarts automatically and uses the new build.
The portal creates an operation that you can monitor from the Operations tab or section.

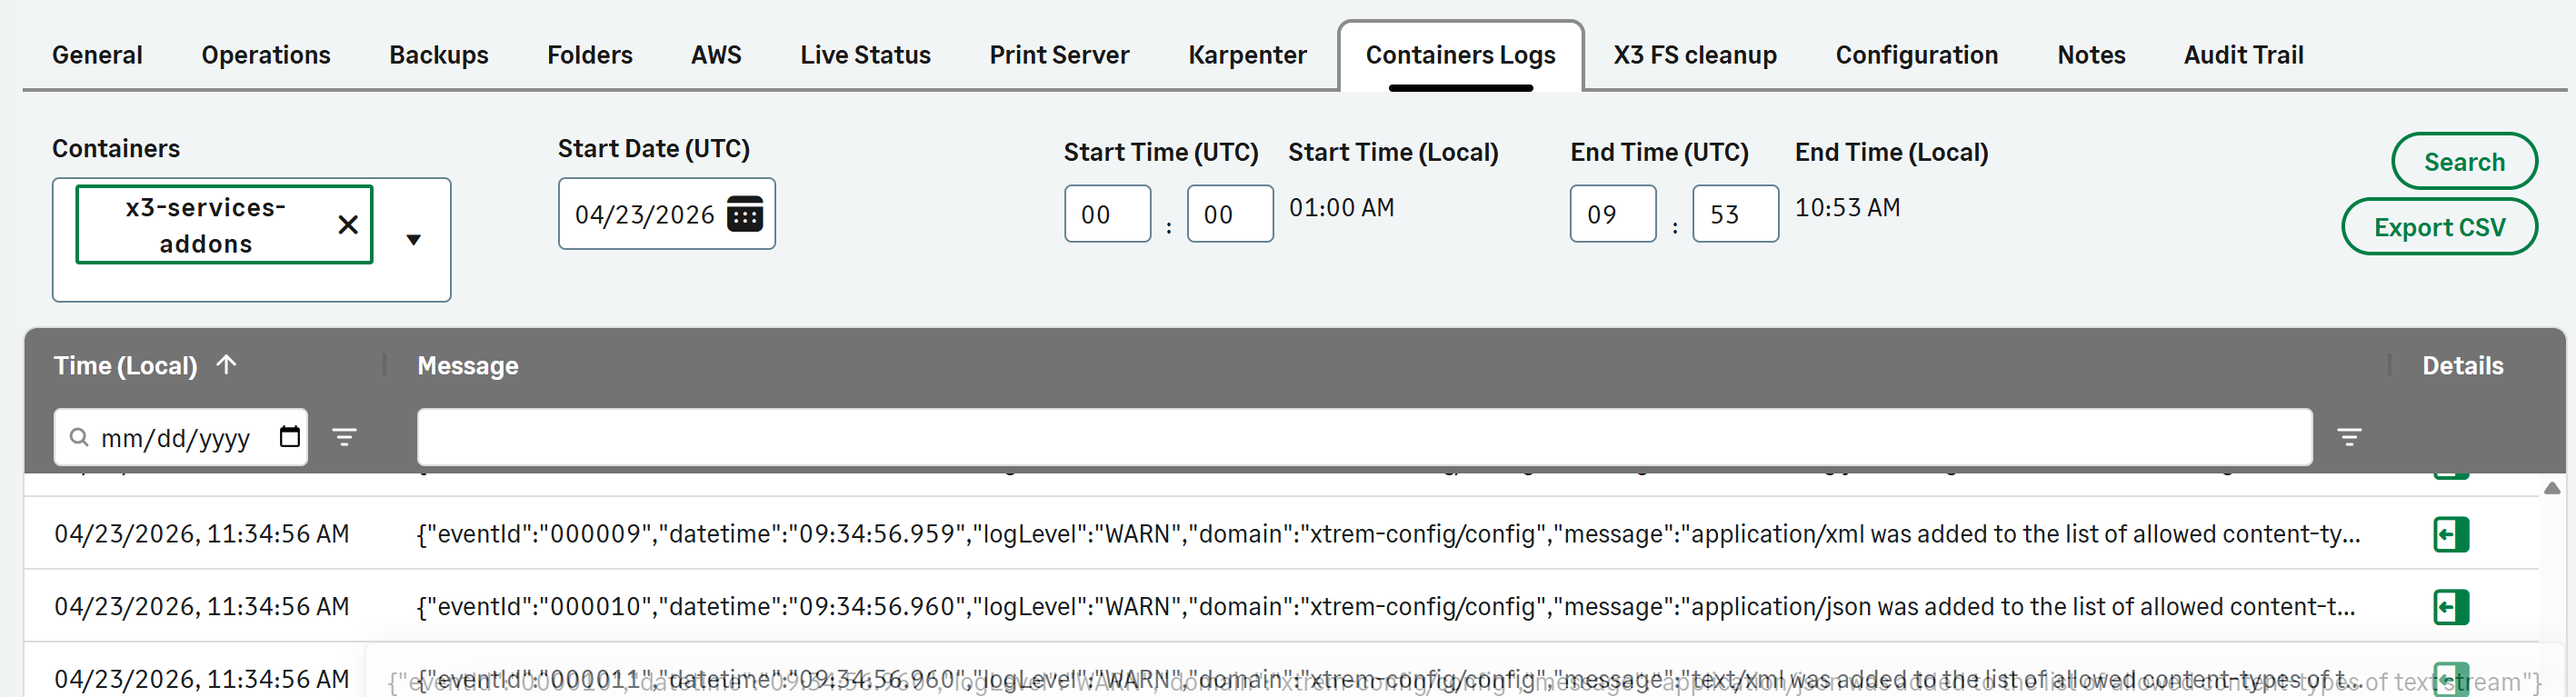
You can review build logs and check for build issues in the Container Logs tab.
Other actions
The X3 services builds tab provides additional actions for build management.
You can:
-
Activate ("Use") a build.
-
Roll back to the previous build.
-
Deactivate the current build.
-
Delete an unused build.
Automatic build deletion
The system automatically removes unused builds after six months.
The system does not delete:
-
The current build.
-
The previous build.
-
Builds referenced by a backup.
The system automatically deletes all other builds after six months.