SOAP Web services import/export example
Test environment
This example is shown from a Sage X3 test environment.
Important:
- This test is done with the SEED endpoint and folder.
- The given values are valid within the SEED test folder. They are not accurate for a live production folder.
Classic function SOAP pools configuration
- Create the POOL web service SEED

- Alias: Name of the POOL
- Maximum size: Maximum number of SOAP web services sessions (1 is perfect for a test endpoint)
- Initialisation size: Number of SOAP web service sessions at the starting of Web server (1 is perfect for a test endpoint)
- Auto start: Set to On. The pool starts when the web server is starting.
- Stopped manually: Authorization to stop this pool manually
- Endpoint
- Locale and User: Used for launching SOAP web services sessions
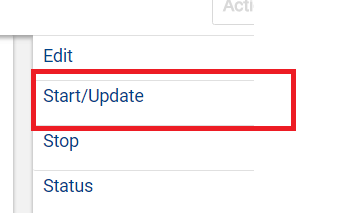
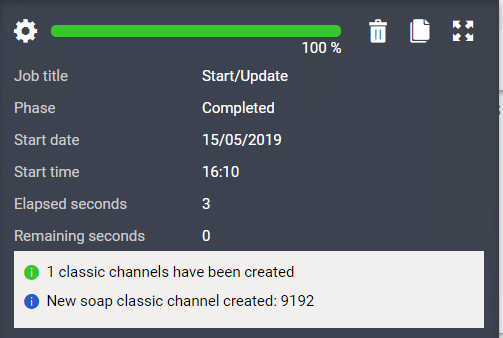
- Start the POOL web service
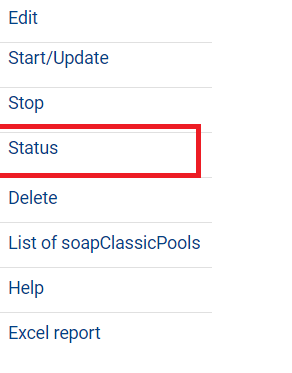
- Check the pool status
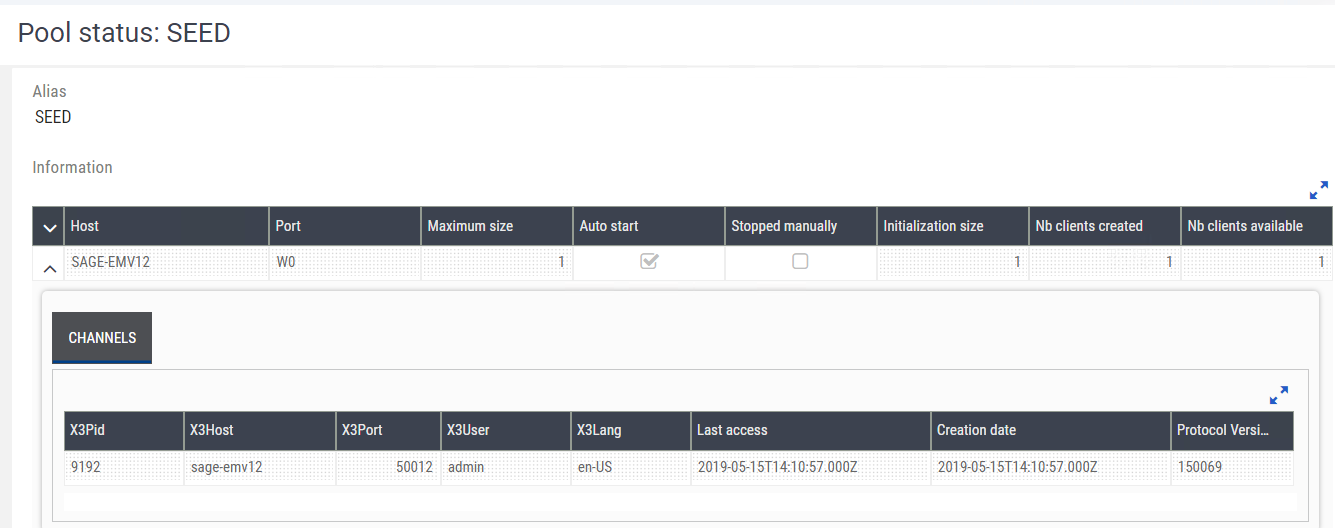
- The W0 node process is available
- The web service session PID is 9192
Use the SoapUI testing tool
Soapui is an advanced REST and SOAP testing tool.
- Go to the SoapUI website
- Download the SoapUI Open Source version
- Install it either on the Sage X3 server or on your machine using the Easy Windows setup
Export: AOWSEXPORT
- Create a SOAP project
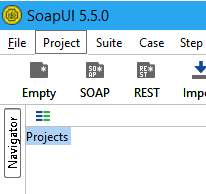
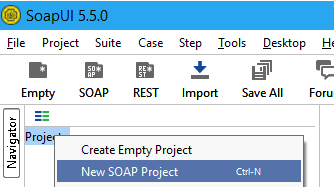
- Set Sage X3 SOAP web service WSDL the following way:
http://name-of-X3-web-server:port/soap-wsdl/syracuse/collaboration/syracuse/CAdxWebServiceXmlCC?wsdl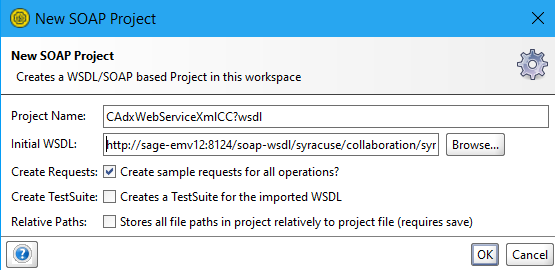
- Click OK
- Open Request1 for the Run web service operation
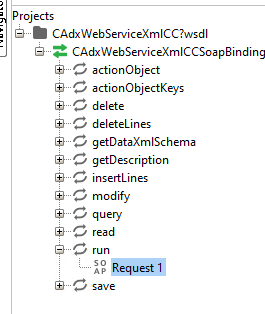
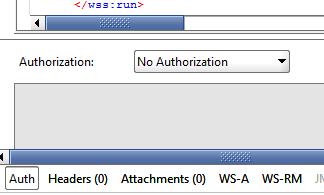
- Add a basic authentication to call the web service
Note: In a live environment it is better to use an authentication with an ssl certificate.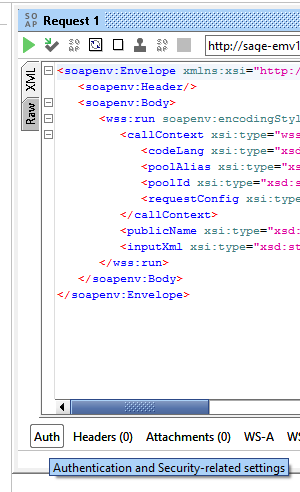
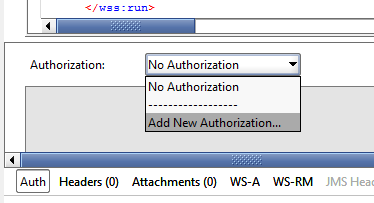
- Click OK
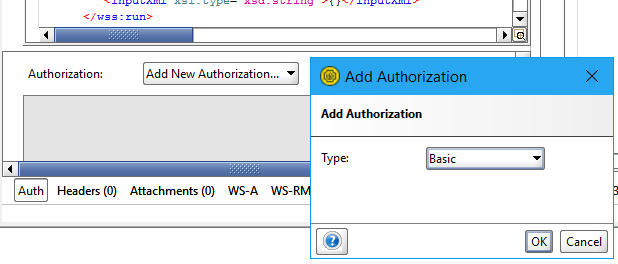
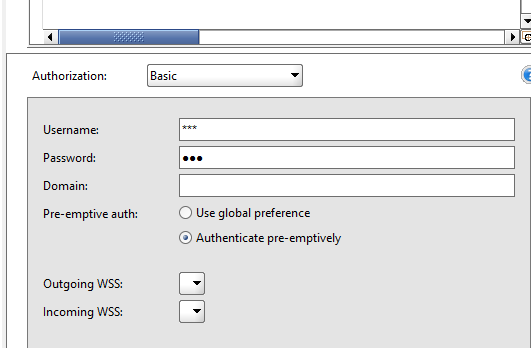
- Username: web server user
- Passwd: web server password
- Pre-emptive auth: authenticate pre-emptively
- Update the xml imput stream

- codeLang: web service call language
- poolAlias: web service pool name
- requestConfig: web service call configuration
adxwss.optreturn = JSONorXML: Web service result formatadxwss.beautify = trueorfalse: Gives a CRLF in the result of web service
- publicName: SOAP web service name
- inputXml: the input stream with JSON or XML format. Set the value to {}
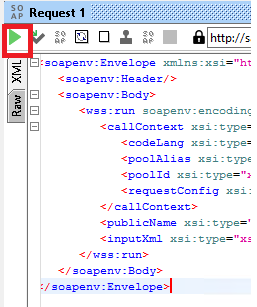
- Click Execute.
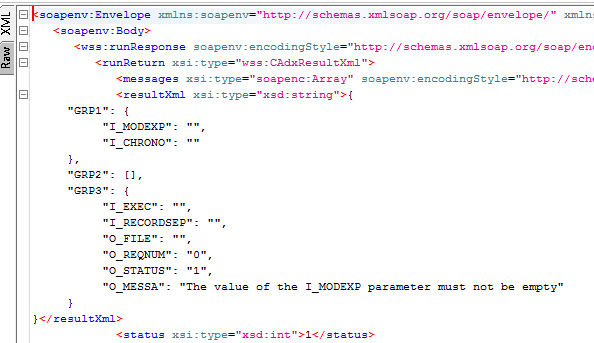
- status: 0=NOK or 1=OK
- resultXml: Web service result in XML or JSON format. It depends of the requestConfig tag.
- Copy the resultxml tag value and copy to the inputxml tag
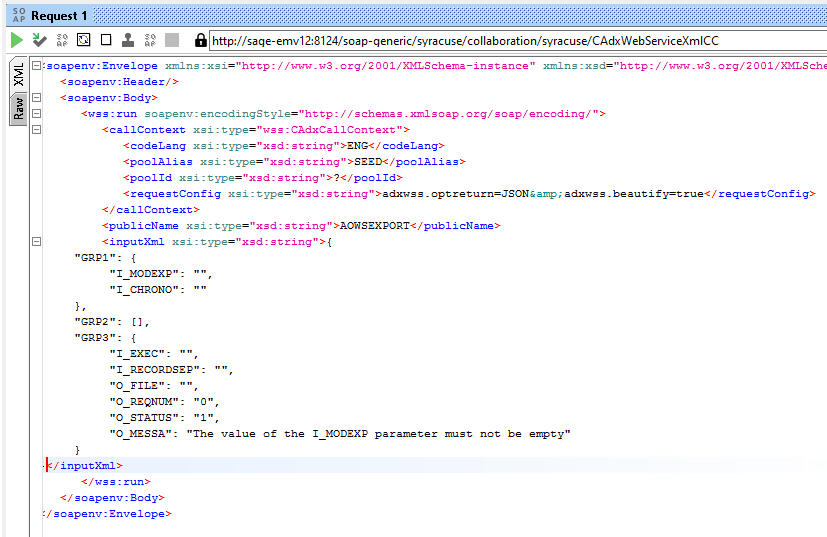
- Update the input xml for keep the mandatory tags
``` { "GRP1": { "I_MODEXP": "ITM", "I_CHRONO": "NO" }, "GRP2" : [ {"I_TCRITERE" : "ITMSTA=1"}, {"I_TCRITERE" : "1=1"} ], "GRP3": { "I_EXEC": "REALTIME", "I_RECORDSEP": "|" } } ```- I_MODEXP: Template export
- I_CHRONO: No chrono management
- Array of I_TCRITERE, see the Export interactive function
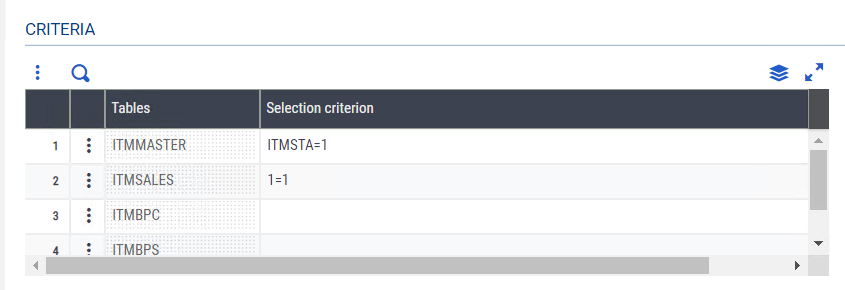 The json array is similar to the criteria array in the function.
- Execute the web service with the right values
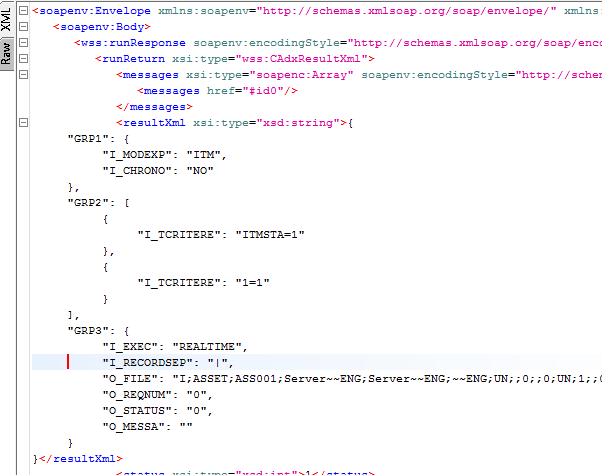
- O_FILE: content of the export file with | instead of CRLF
