Setting Up a Google Account SSO for OAuth2
The administration platform allows you to use a Google (Gmail) account for OAuth2 authentication. The corresponding procedure is detailed in this document.
Prerequisites
To set up OAuth2 with a Google account, you need:
- The URL of your server (public or private).
For example, "https://www.my_server.com" or "https://MyServerName". - A Google account to administer the service. This can be done from the this link.
In the following example, we will use mock account "[email protected]". - To select a name for your OAuth2 service. It must start with a letter (A-Z or a-z), followed with any combination of letters (A-Z or a-z), digits, or underscores.
In the following example, the name "MyAuth2" is used. - To configure Oauth2 as a valid authentication method in your Sage X3 nodelocal.js file:
session: {
    timeout: 30, // minutes
    checkInterval: 60, // seconds
    auth: ["basic", "oauth2"]
}
Creating a client ID
- Go to https://console.developers.google.com and click Create Project.

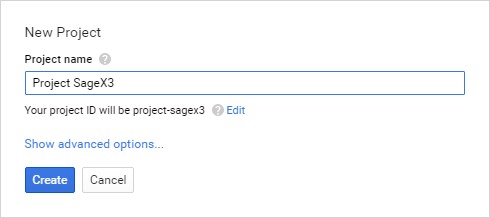
- Enter the name of the application you want to create and click Create.
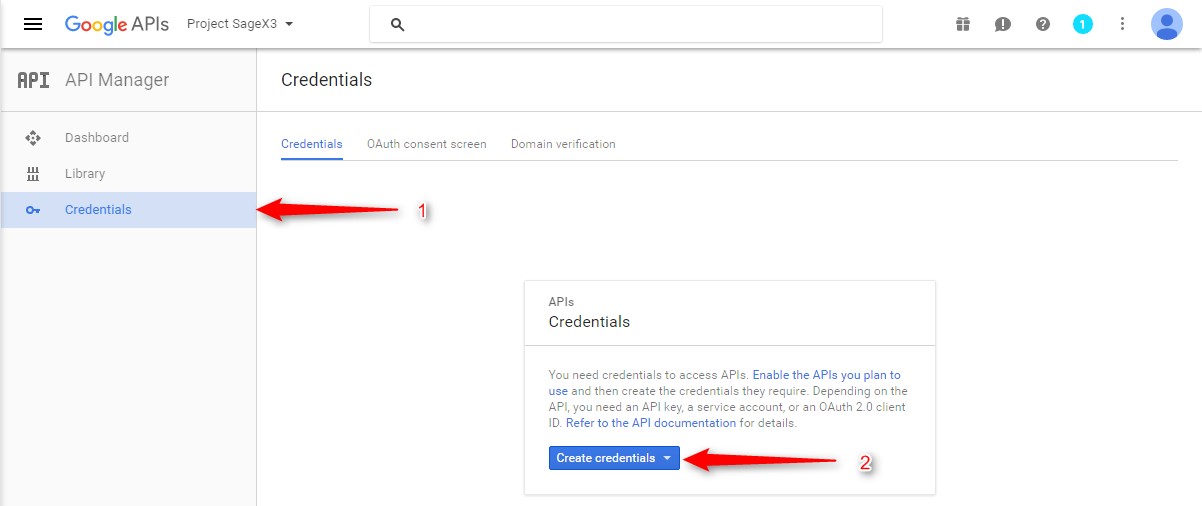
- Go to the Credentials tab and click Create credentials.
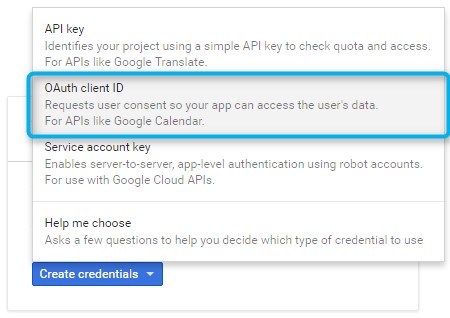
- Select OAuth client ID.
- Click Configure consent screen.
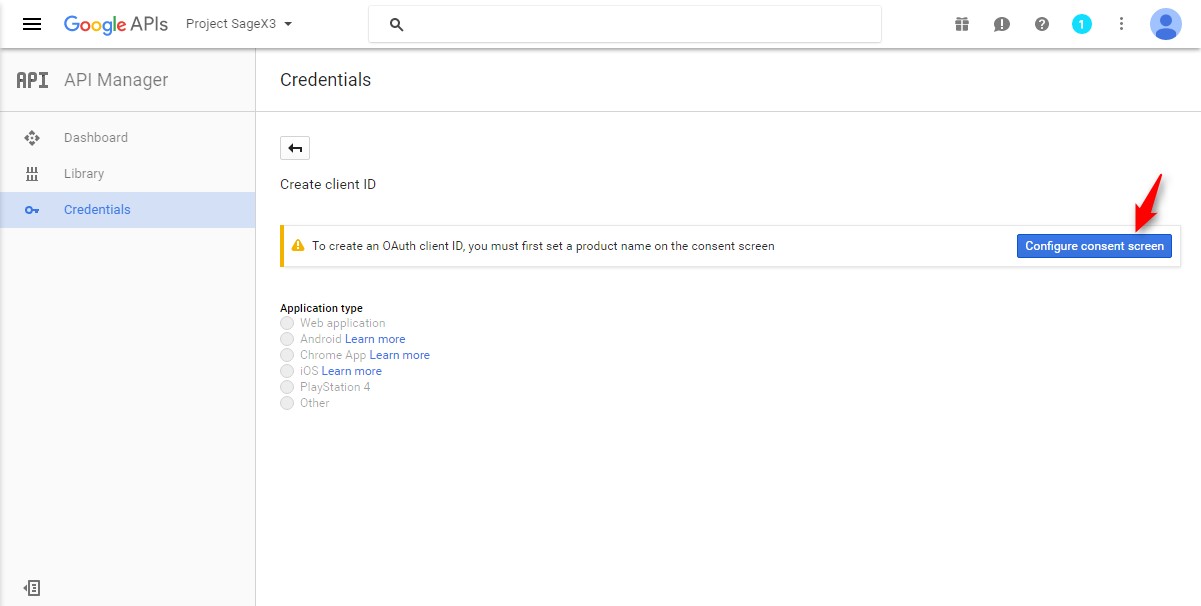
- Enter a product name if it is the first time you create credentials.
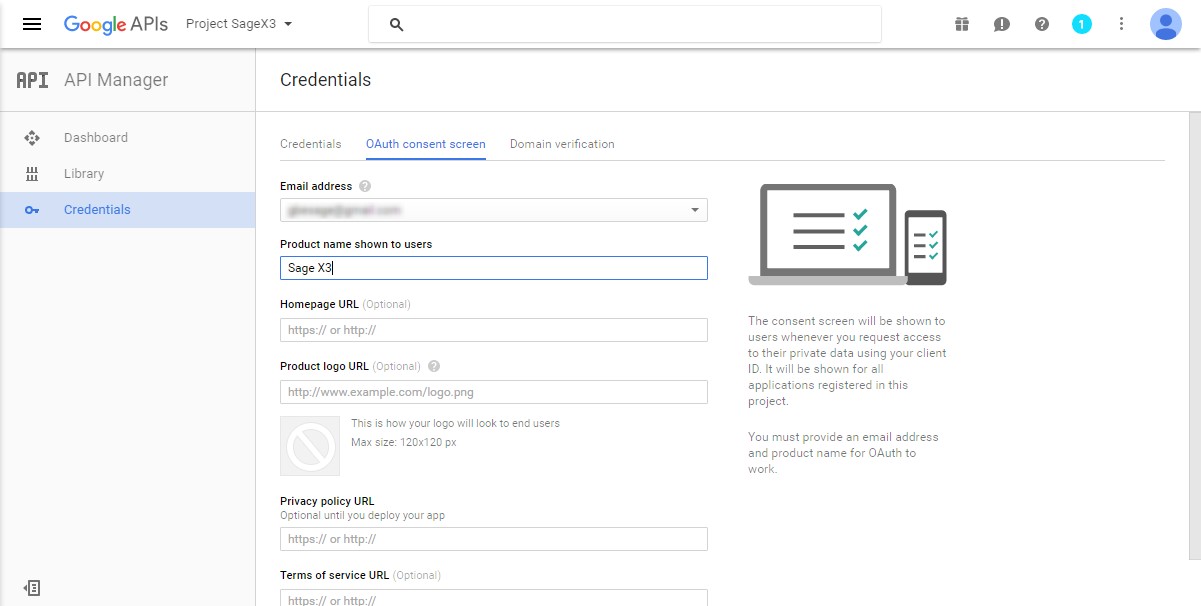
- Save your changes.
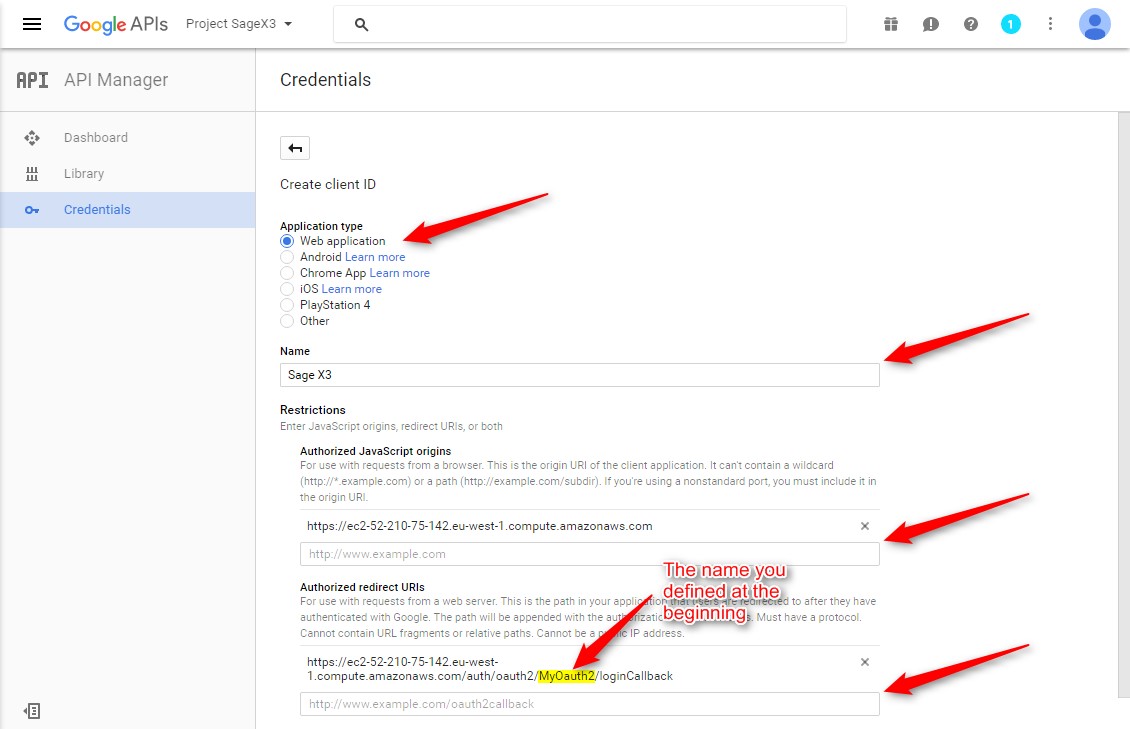
- Select Web Application, and enter the Name, Authorized JavaScript origins and Authorized redirect URLs.
 Note for Sage X3 Cloud
With Cloud environments, Authorized JavaScript origins and Authorized redirect URLs should be derived from their own Sage X3 Cloud instance URLs.
In the example below, the OAuth2 name of the https://support.sagex3.com site is naoauthinternal.
So the values for Authorized JavaScript origins and Authorized redirect URLs are https://support.sagex3.com and https://support.sagex3.com/auth/oauth2/naoauthinternal/loginCallback.
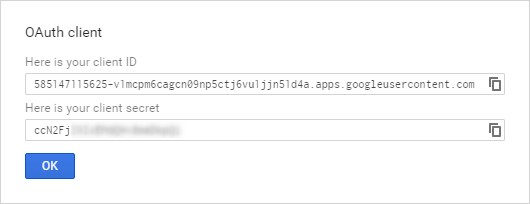
- Click Create. You will be given a client ID and a client secret.
Creating an Oauth2 service in the Sage X3 Web Server (Update 9)
- Go to Administration > Administration > Settings > Authentication > OAuth2 Servers.
- Click New OAuth2 service.
- In the Name field, enter the name of the service created in the Prerequisites section.
The display name can be chosen freely. - Enter the appropriate values for the following fields:
- Oauth2 server URL without path: "https://accounts.google.com"
- Path for authorization: "https://accounts.google.com/o/oauth2/auth
- Path to get access token: "https://accounts.google.com/o/oauth2/token"
- Oauth2 client ID and Oauth2 client secret correspond to the client ID and the password defined in the Creating a client ID section.
- Scope for Oauth2 requests: "https://www.googleapis.com/auth/userinfo.email" "https://www.googleapis.com/auth/userinfo.profile"
- Redirect path for Oauth2 server "/auth/oauth2/NAME/loginCallback" (where NAME is the service name).
- URL for requesting user data: "https://www.googleapis.com/oauth2/v1/userinfo"
- User field in user name answer: "email"
- Click Save.
Linking your users to their Google account
You can now enable OAuth2 authentication for all users. Follow the steps below to link users to their Google accounts:
- Make sure that both oauth2 and basic authentications are enabled in your nodelocal.js file.
- Go to Administration > Administration > Settings > Global settings, and change the default authentication method to oauth2.
- Go to Administration > Administration > Users > Users, and set the authentication method of the "admin" user to DB.
This is a safety net in case your OAuth2 configuration does not work. You can change it later. - Edit a test user (other than admin) to set its email to a Google account for which you have valid credentials.
- Log out and log back in with the test user. If you get an error, log in again as admin to fix the OAuth2 configuration and try again.
- When the test is successful:
- log in again as admin,
- assign a Google account email to the admin user,
- change the admin user to use the default authentication method (OAuth2).
- Check all user emails and edit them, if necessary, to match each user's Google account.
- Edit your nodelocal.js file, and enable oauth2 only.
Restart the Web server: your server is now safely configured to authenticate all users, including admin, with their Google accounts.
Note: We recommend that you use an external identity service such as LDAP or OAuth2 for all users, including special users that support web service calls. However, you will need to adapt your web service clients to authenticate with OAuth2.
If you are using web services published by Sage X3, you can temporarily activate both basic and OAuth2 in your nodelocal.js file, and configure the special web service users to use basic authentication. This will allow you to keep your web services in operation while you adapt them for OAuth2. Once you have upgraded your web service clients, you should edit nodelocal.js again, and only enable OAuth2 to tighten the security.
Logging In with OAuth2
- Click the OAuth2 button on the login screen.
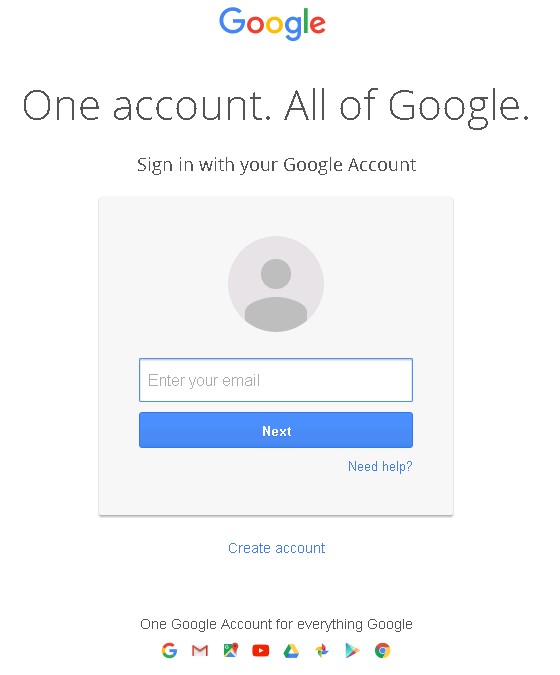
You can also add a direct link (http://www.my_server.com/auth/oauth2/MyOauth2/loginStart) to your bookmarks and use it to log in. - Once redirected to the Google site, authenticate using your Google account, if not already done.
- When prompted to, allow Sage X3 to access your Google profile when logging in for the first time.
Note: You will be authenticated until you log out of your Google account, or until you clear your browser’s cookies. As a result, Sage X3 may not ask you to authenticate each time.