Create the portal
Install and set up WampServer
You can download WampServer from www.wampserver.com or https://sourceforge.net/projects/wampserver/.
Download: WAMP SERVER 64-BITS (X64) 3.0.6
By default, WampServer is installed in C:\wamp64 but it is best to choose c:\sage\wamp, or a different folder.
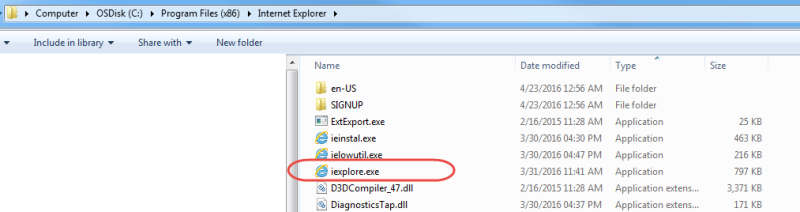
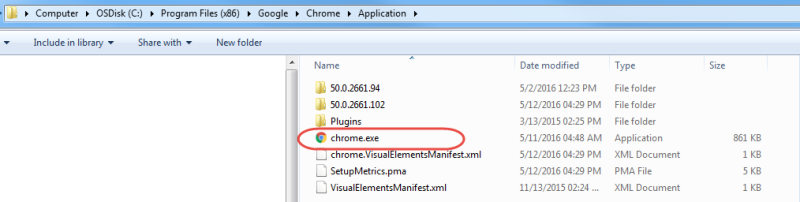
Next, you need to choose a default browser such as Chrome or IE.
Navigate to the EXE file on your computer.
Select the file and click Open.
You can choose a default text editor, such as Notepad + + (32bits).
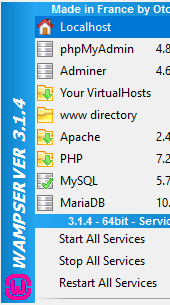
On your desktop, this program can be used to launch, stop or set up WampServer.

Launch WampServer.
The notification icon changes color and should become green.

Launch the WampServer page by clicking this icon.
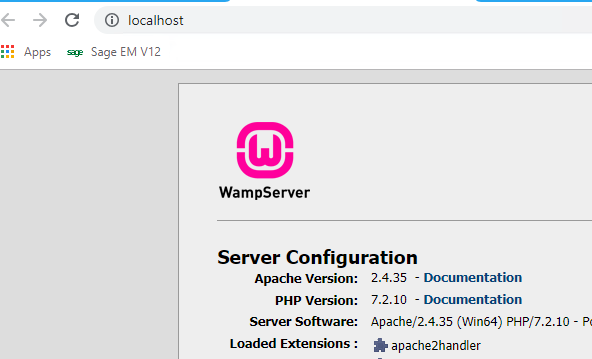
Then select Localhost.
You should see this page:
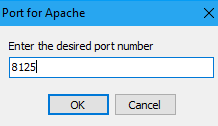
The default HTTP port, which is 80, needs to be changed. For example, you can choose 8125 or another port.
Right click the WampServer icon, then Tools, then Use a port other than 80.
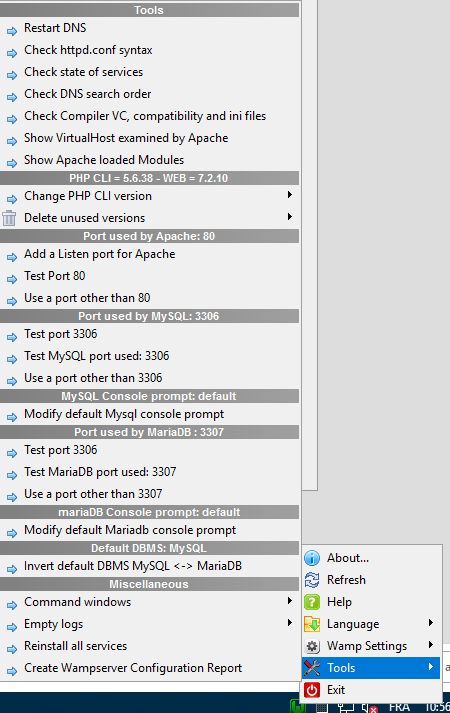
Enter the new port: 8125
Verify that the page is running on this new port.
WampServer includes MySQL and MariaDB databases.
To free up resources on your machine, you can stop these two databases. This PHP portal does not use them.
Deselect Allow MySQL and Allow MariaDB.

Set up the server and the Web services pool
Set up the Syracuse Web server
In Sage X3, complete the following steps:
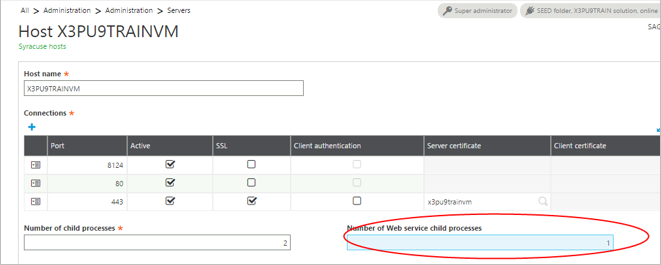
Open: Administration > Administration > Servers > Hosts
Click the Edit icon next to your host name.
On the next screen, in the Number of Web service child processes field, enter 1.
Set up the Web services pool
Open: Classic SOAP pools configuration from Administration > Administration > Web Services > Classis SOAP pools configuration.
Click Create soapClassicPool.
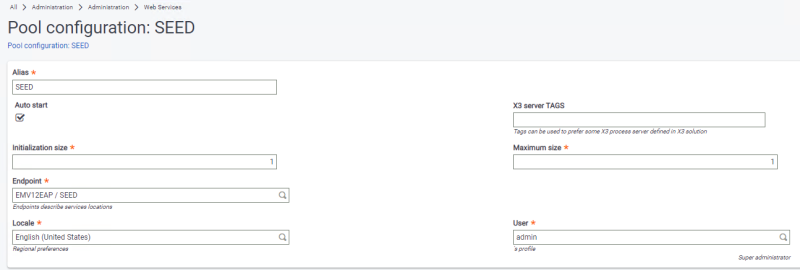
Complete the following fields:
Alias: Enter the name of the pool to be used in the web service call.
Initialization size: Enter 1.
This field corresponds to the number of clients (per node.js process) that are initialized during the pool startup.
Maximum size: Enter 1.
This field corresponds to the maximum number of clients (per node.js process) that can be started from this pool.
Auto start: Select this check box.
If the box is selected, the pool starts when the Syracuse server starts.
Server TAGS: Leave blank.
This field is best used by the developers with a classic SOAP pool configuration.
Endpoint: Enter the endpoint (folder) to be used for web service requests.
Locale: Enter your language and location. In this example, English (United States).
User: Enter the username. In this example, the username is admin.
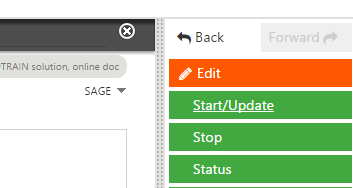
To continue setting up the PHP web portal, you need to start the pool.
Once you have created the pool, following the steps above, it displays in the List of soapClassicPools.
Click the name of the pool you just created.
In the Action panel, click Start/Update.
Install and set up the PHP Web portal
If you have not already done so, start the web service pool you just created. See steps in the previous section for details.
Download the PHP web portal project files
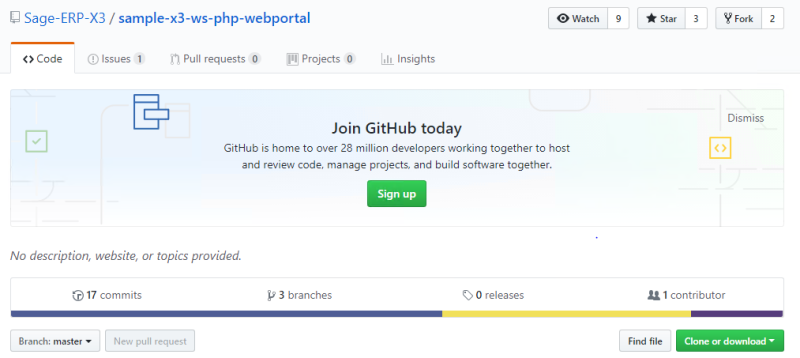
The project file for the PHP web portal is available on GitHub. The project file is available to everyone, so you do not need a GitHub account. The downloaded file contains everything you need to create and configure the portal including the application patch for the YOSOH web service.
From https://github.com/Sage-ERP-X3/sample-x3-ws-php-webportal, click Clone or Download.
If you are logged in to GitHub, you have the option Clone or Download. Be sure to download the ZIP file.
Save the sample-x3-ws-php-webportal-master.zip file to C:\Sage\wamp\www.
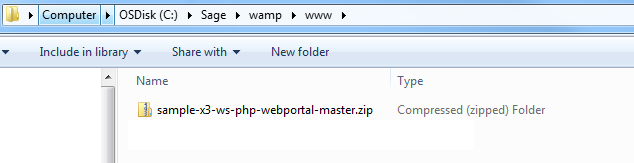
Extract all files to C:\Sage\wamp\www\sagex3.
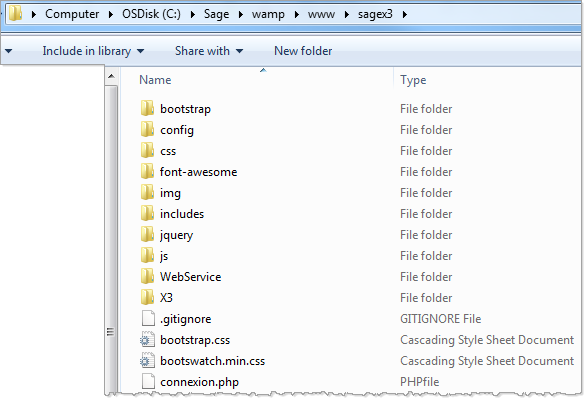
Set up the portal
Next, you need to configure the portal to communicate with Sage X3.
In the folder C:\Sage\wamp\www\sagex3\config, open the Config.php file.
The following fields should match the information you entered when you configured your web service pool in Sage X3:
WSDL : The WDSL file URL
CODE_LANG
POOL_ALIAS
WS_ORDER : YOSOH, the name of the Sales orders web services.
WEB_SITE_LOGIN and WEB_SITE_PASSWD represent the credentials you will share with those who will be accessing these web services via the web portal.
<?php

class Config {
	public static $WSDL            	= "http://x3pu9trainvm:8124/soap-wsdl/syracuse/collaboration/syracuse/CAdxWebServiceXmlCC?wsdl";
	public static $CODE_LANG       	= "ENG";
	public static $CODE_USER       	= "admin";
	public static $PASSWORD        	= "admin";
	public static $POOL_ALIAS      	= "SEED";
	public static $REQUEST_CONFIG  	= "adxwss.optreturn=XML";
	public static $WS_ORDER  		= "YOSOH";

	public static $WEB_SITE_LOGIN	= "websage";
	public static $WEB_SITE_PASSWD 	= "websage";

}
?>
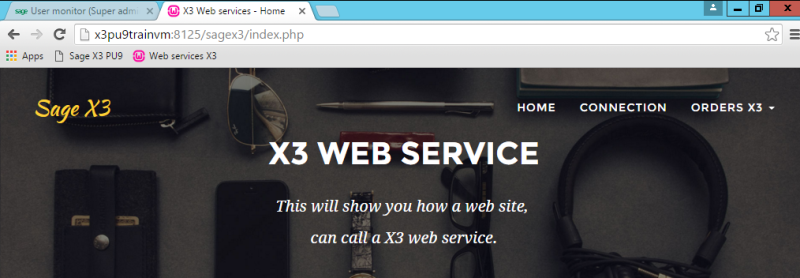
Here is what your portal could look like:
Install the application patch
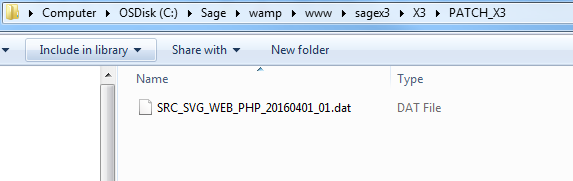
You need to install the patch containing the YOSOH web services. The file was downloaded in the ZIP file from GitHub.
The name of the file is SRC_SVG_WEB_PHP_YYYYMMDD_NN.dat. It is located in the following directory: C:\Sage\wamp\www\X3\PATCH_X3.
The patch contains the following objects:
|
Type |
Objects |
Comments |
|
ACV |
YSWPH |
Activity code PHP Web portal |
|
EXE |
SUBSLC |
Generate Sales entry transaction |
|
TRT |
YSWPHPSTOCK |
Script Available stock |
|
ASU |
YSWPHPSTOCK~STOCK |
Sub program YSWPHPSTOCK~STOCK Available stock |
|
AWE |
YOSOH |
Web service YOSOH Sales orders |
|
AWE |
YSSTOCKPHP |
Web service YSSTOCKPHP Available stock |
|
SLT |
STRTYP=2 & STRNUM='WS' |
Sales entry transaction WS: Web service for the web service YOSOH |
The web service Available stock is not in use at this moment.
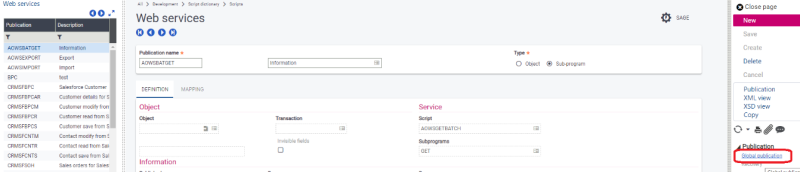
Publish the web service.
After installing the patch with the web service, you need to publish the service. This validates the web service so that it is visible.
In Sage X3, navigate to Development > Script dictionary > Scripts and open Web services (GESAWE).
Click Global publication.
Errors in the log file
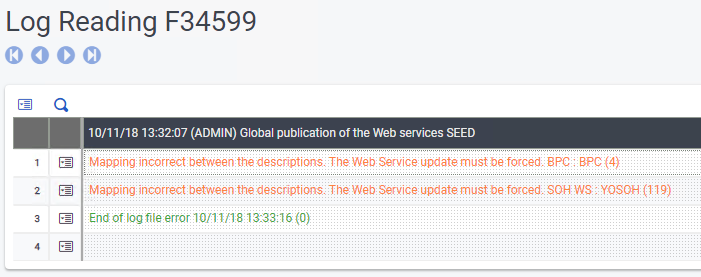
Only the YOSOH web service is used.
In the same function, select the YOSOH web service and click Publication.
