Preparing single-line files for import
A CSV file is a comma-separated values file. CSV files have the file extension .csv.
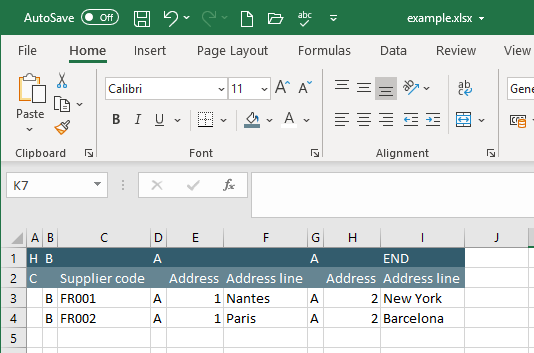
CSV files are plain-text files used to save data in a tabular format. CSV files are typically spreadsheet files that can be used with most spreadsheet programs, such as Microsoft Excel or Google Spreadsheets. They can be used to import or export a high volume of data to a database.
A CSV spreadsheet contains only a single sheet. Cells, columns, rows and formulas cannot be saved in CSV spreadsheet files.
Process
To convert a single-line file for importing into Sage X3 you must follow a simple 2-step process.
Step 1: Save the source file as a CSV file
- Load the source data file for conversion in its associated application.
- From the application running the source data file, click File > Save as.
- Select the CSV (Comma delimited) (*.csv) file format.

- Click Save.
Step 2: Convert the source CSV file to a multi-line CSV file
Open: Usage > Imports / exports > Single line files conversion
Enter the following data:
- Structure block:
- Source block:
- Click OK.
- Select the source .csv file for import. Alternatively, drag and drop the file into the File upload window.
- When the file has loaded, click OK.
- A successful import generates a log file upon completion, detailing the name of the import file.
- Data file. Type in or select from the List of volumes, the source .csv file for import.
- Click OK.
- The Data file field in the Destination block is populated automatically. It is not available for amendment.
- Click OK.
Field separator. Leave as a semi-colon (;).
Record separator. The default values for a Windows system.
File format. Leave as ascii.
Client (default). Leave as Client if the source file is on the client workstation.
Make sure you select the file with the .csv extension, and not the original source data file.Our example import file now has the file name example.csv.out.
Server. Select the Server radio button if the source file is on the Sage X3 server.
Make sure you select the file with the .csv extension, and not the original source data file.The location of the new destination file will be the same as the source file. The file name of the new import file will have a .out extension.
Our example import file now has the file name example.csv.out. It will be saved in the same folder as the original source file on the Sage X3 server.
Locate the new .csv.out file. This will be in your Downloads folder if the source file is on the client workstation or in the same folder as the original source file if the source file is on the Sage X3 server.
The .csv.out file is in the application format in CSV format. It is this file that will be used for importing into the application.