Installing and updating the Sage X3 Automated Test Platform library
This chapter explains how to install and update the Sage X3 Automated Test Platform library.
Verify the prerequisites
Part 1: Verify the software prerequisites
- Ensure that the following programs are installed on your local machine. The installation is controlled, and the installation cannot be executed if it is not installed.
-
You can confirm if those programs were installed by following these steps:
-
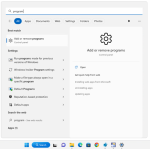
In the Windows search bar, type program and click Add or remove programs
Example for Windows 11:

-
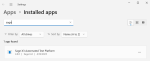
In the search box, filter on the program you are looking for and confirm that the program is installed on your system
Search for java or zulu and chrome (version of java or Azul Zulu or Google Chrome may differ if newer releases are available or depending on your system configuration):
-
If the programs mentioned above are not installed, the installation files can be found here:
- Refer to the prerequisites_atp documentation for more information about the Java Runtime Environment (JRE)Note - settingsDuring the Java runtime installation process, select the option to create the JAVA_HOME environment variable if it is suggested.
If the JAVA_HOME environment variable creation is not suggested, refer to Part 2: Verify/Create the JAVA_HOME environment variable. - Chrome installer
Make sure you install the version compliant with your operating system. For example, if you have Windows 10 64-bit, ensure to install the 64-bit version of Java.
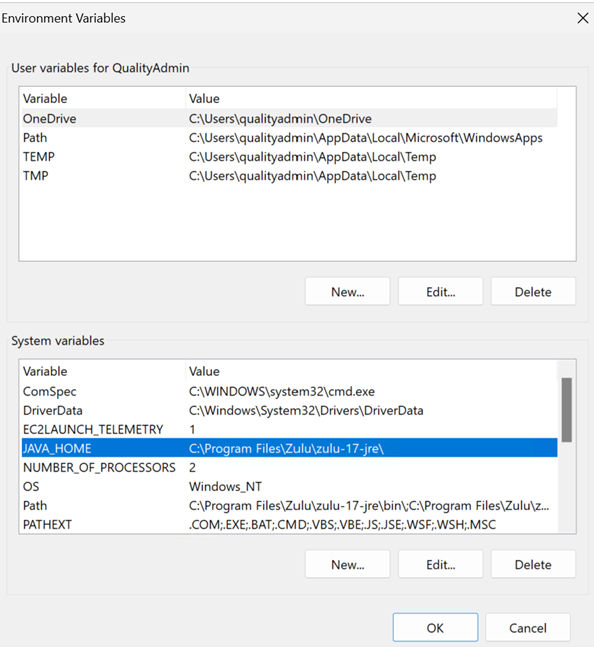
Part 2: Verify/Create the JAVA_HOME environment variable
When installing the Java runtime, some installers such as Azul Zulu suggest creating the JAVA_HOME environment variable automatically during the installation process.
You can create it manually if you didn’t select this option or if it wasn’t suggested during the Java runtime installation.
This variable is used to automatically locate the version of the JAVA runtime installed on your system.
-
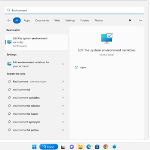
Enter Environment in the Windows search bar.
-
Select Edit the system environment variables.
-
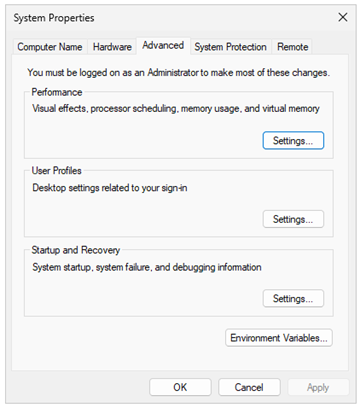
Select the Environment Variables button.
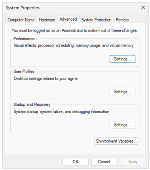
-
Check if the JAVA_HOME variable exists in the System variables section.
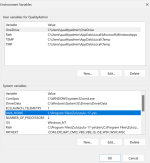
-
If not, follow these steps to create the JAVA_HOME variable:
-
Select New.
-
Enter JAVA_HOME for the variable name.
-
Enter the value for your JAVA_HOME variable. It is the path where Java or Azul Zulu is installed. Generally, it is under C:\Program Files\....
-
-
Select OK to close the Environment variables window.
-
Select OK to close the System properties window.

Part 3: Prepare the installation files
-
Copy the atp-M.m.p-win ZIP file on your local machine.
-
Unzip the atp-M.m.p-win ZIP file.
-
The following folder and files are extracted:
Folder File Description \atp-M.m.p-win\01-ClientInstaller-updater sagex3atp-setup-M.m.p.jar Installer/updater setup wizard to install/update the ATP Client on a local machine. \atp-M.m.p-win\02-JenkinsPipelines ATP-TemplateRunAutomatedTests.xml sagex3atp-jenkins-setup-M.m.p.jar
ATP Jenkins installer to install/update ATP for your ATP-RunAutomatedTest pipeline.
Install Sage X3 Automated Test Platform
-
Double-click the sagex3atp-setup-M.m.P.jar file to execute the installation process.
-
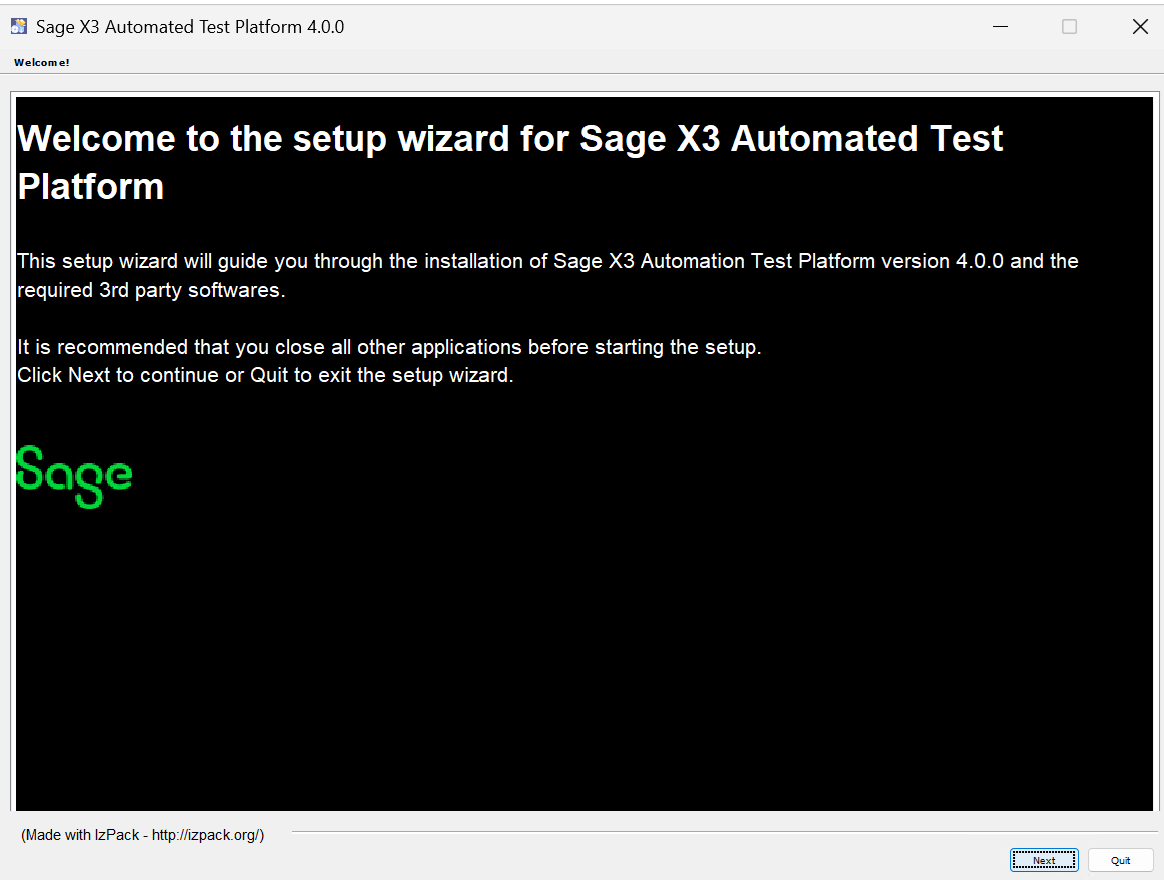
The setup wizard opens and the welcome page displays.
-
Select the Next button to continue.

-
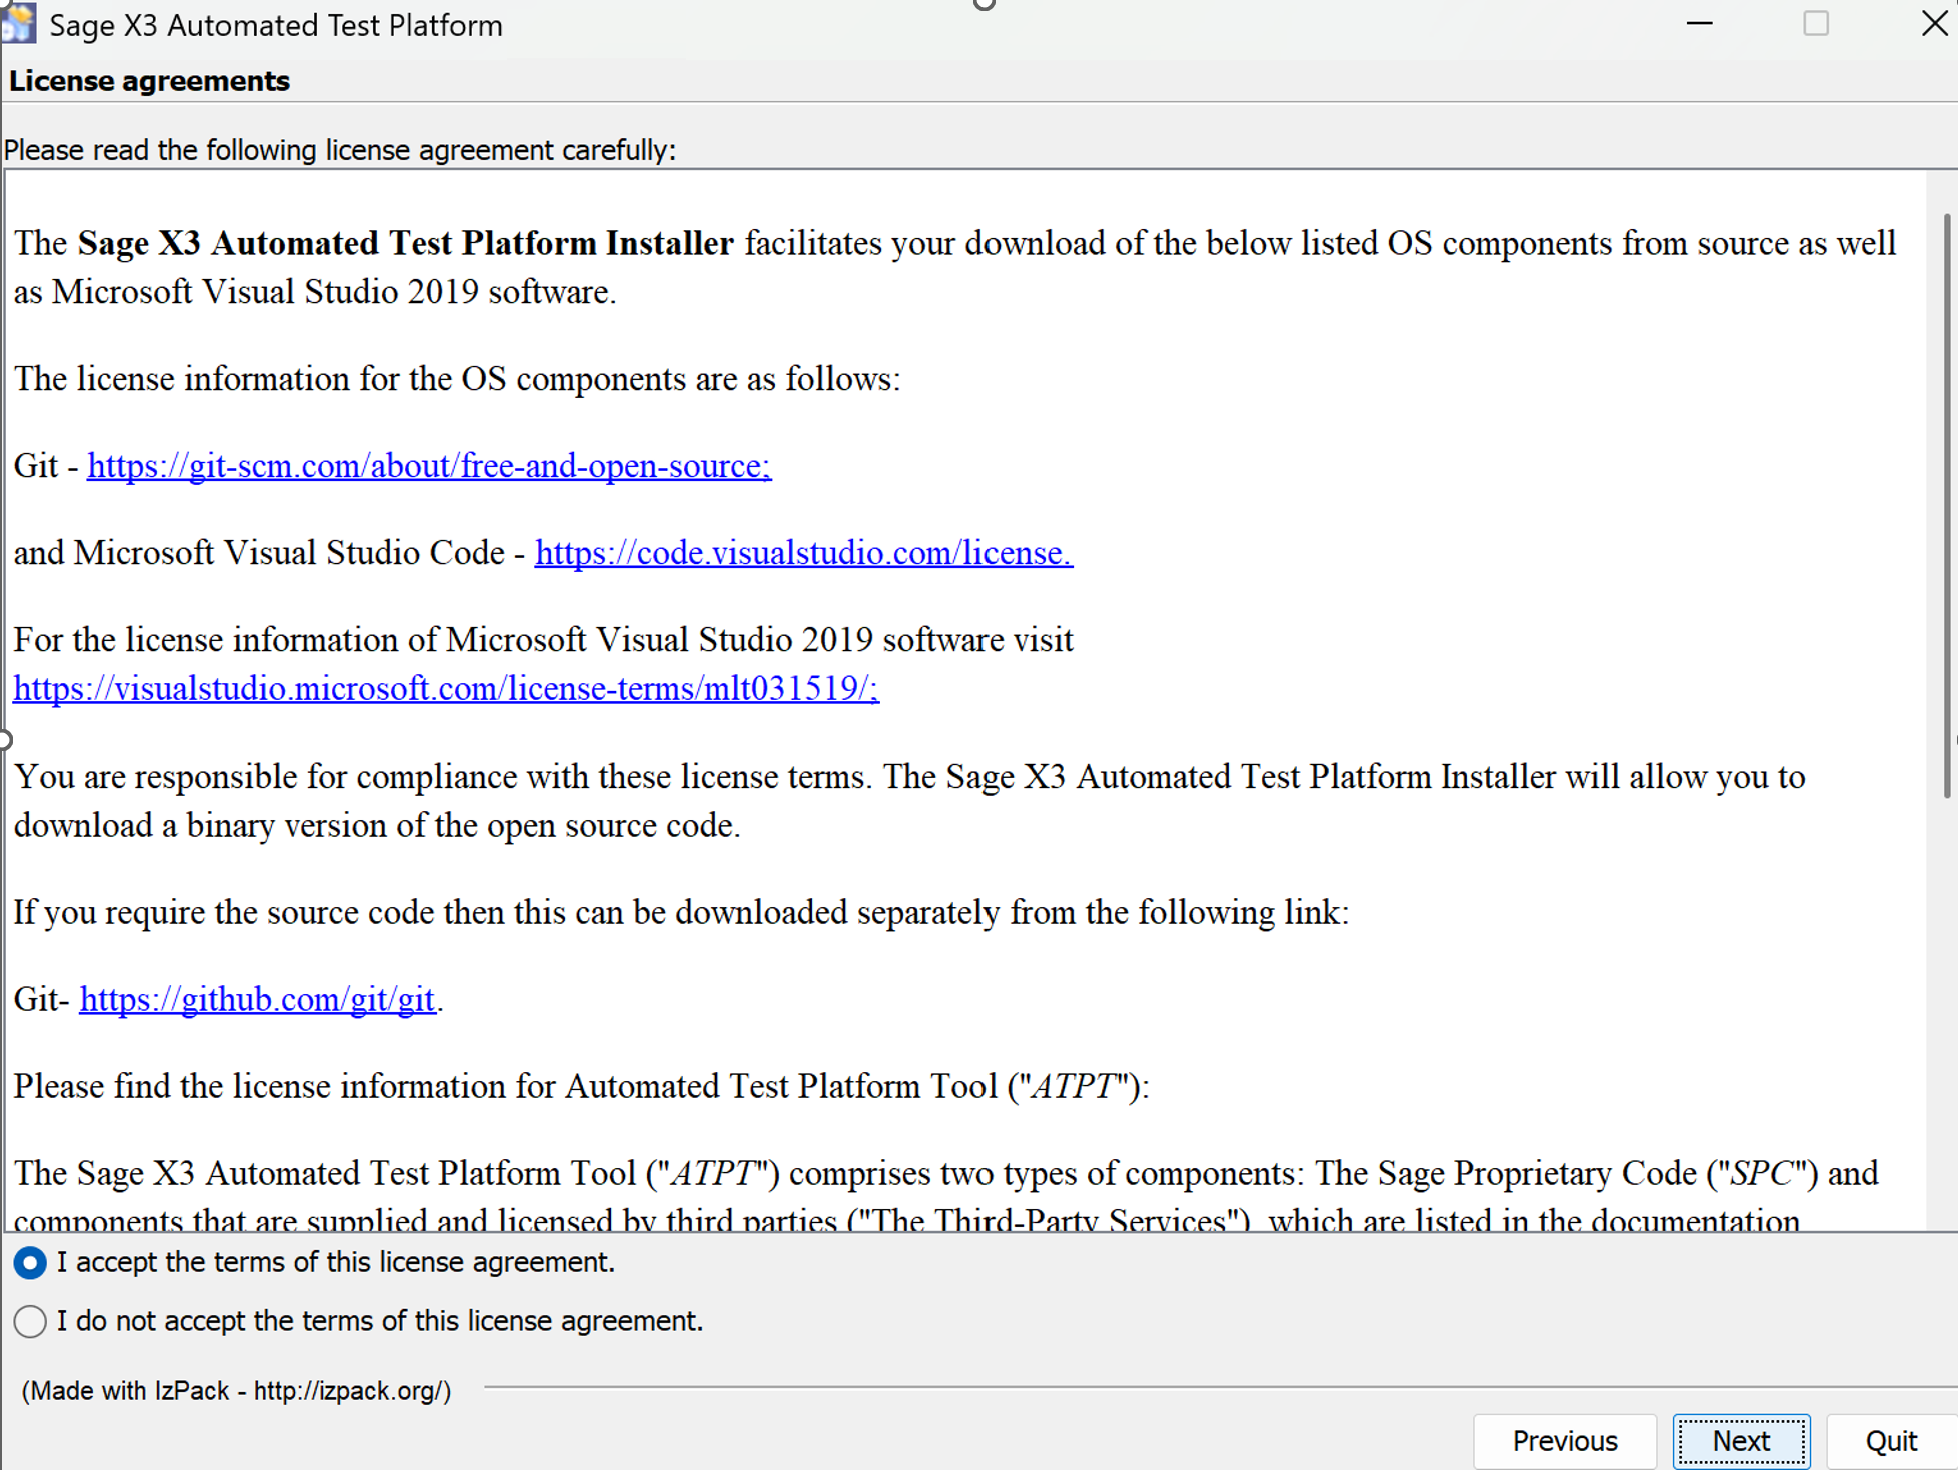
The License agreements page displays.

-
To continue the installation process, select I accept the terms of this license agreement.
-
Select the Next button to continue.
-
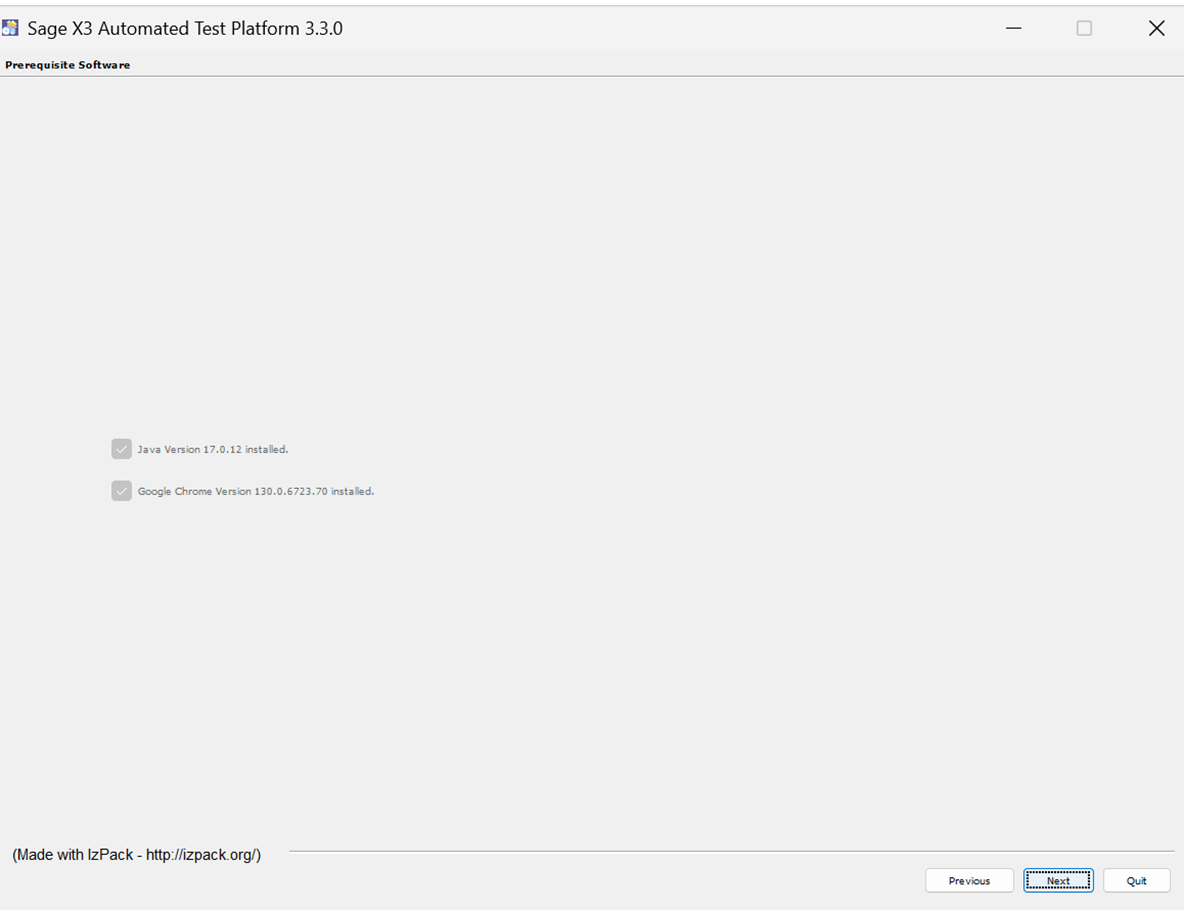
The Prerequisite software page displays.
Note - warningThe installation will stop if Chrome or Java are not installed:- Select the Quit button to close the setup wizard.
- Refer to the Verify the prerequisites section of this documentation and follow the guidelines.
-
If the prerequisites are OK, select the Next button to continue.
(Version of java or Azul Zulu or Google Chrome may differ if newer releases are available or depending on your system configuration)
-
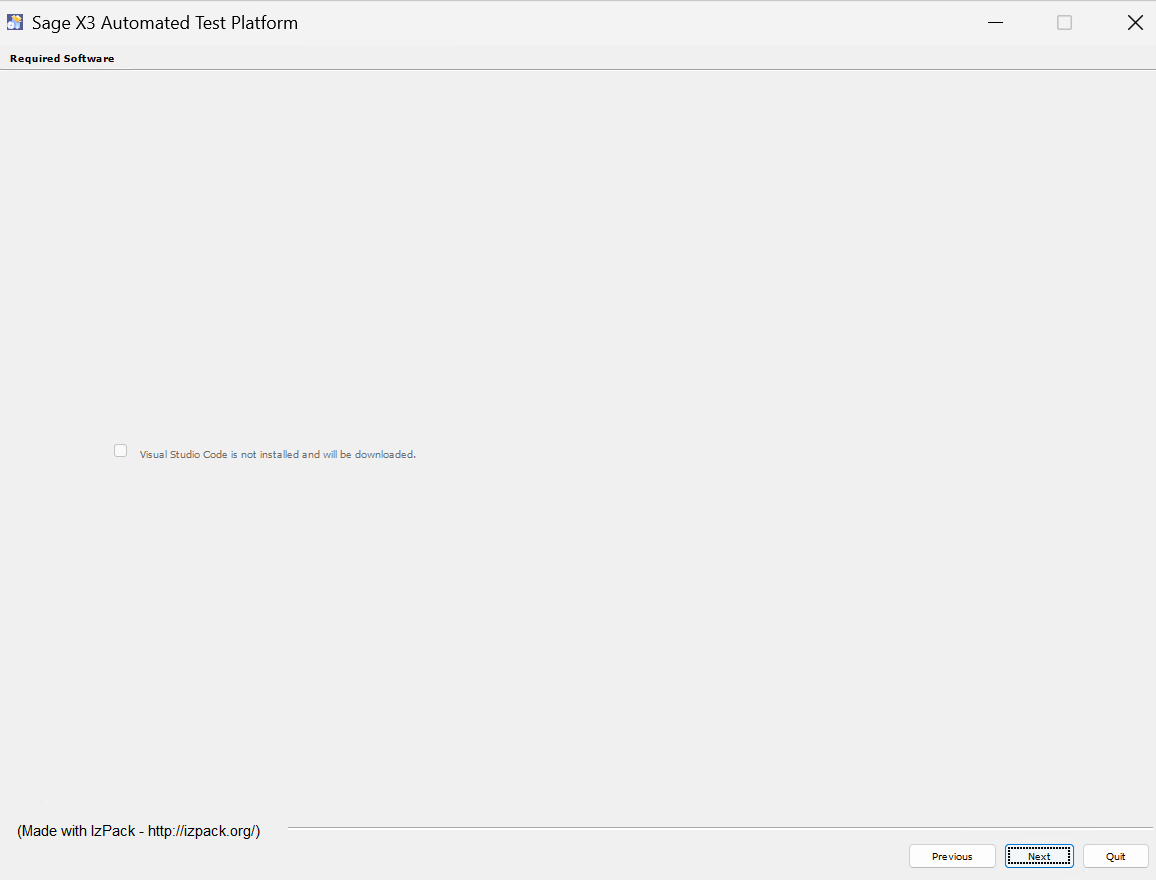
The Required software page displays. Visual Studio Code is required. At that stage, the installer only informs you of what it will install on your system.
-
Select Visual Studio Code is not installed and will be downloaded, and Next to install Visual Studio Code if it is not already installed on your device.
-
If Visual Studio Code is already installed, select the Next button to continue. If your current version of Visual Studio Code is already installed, then its installation will be skipped.
-
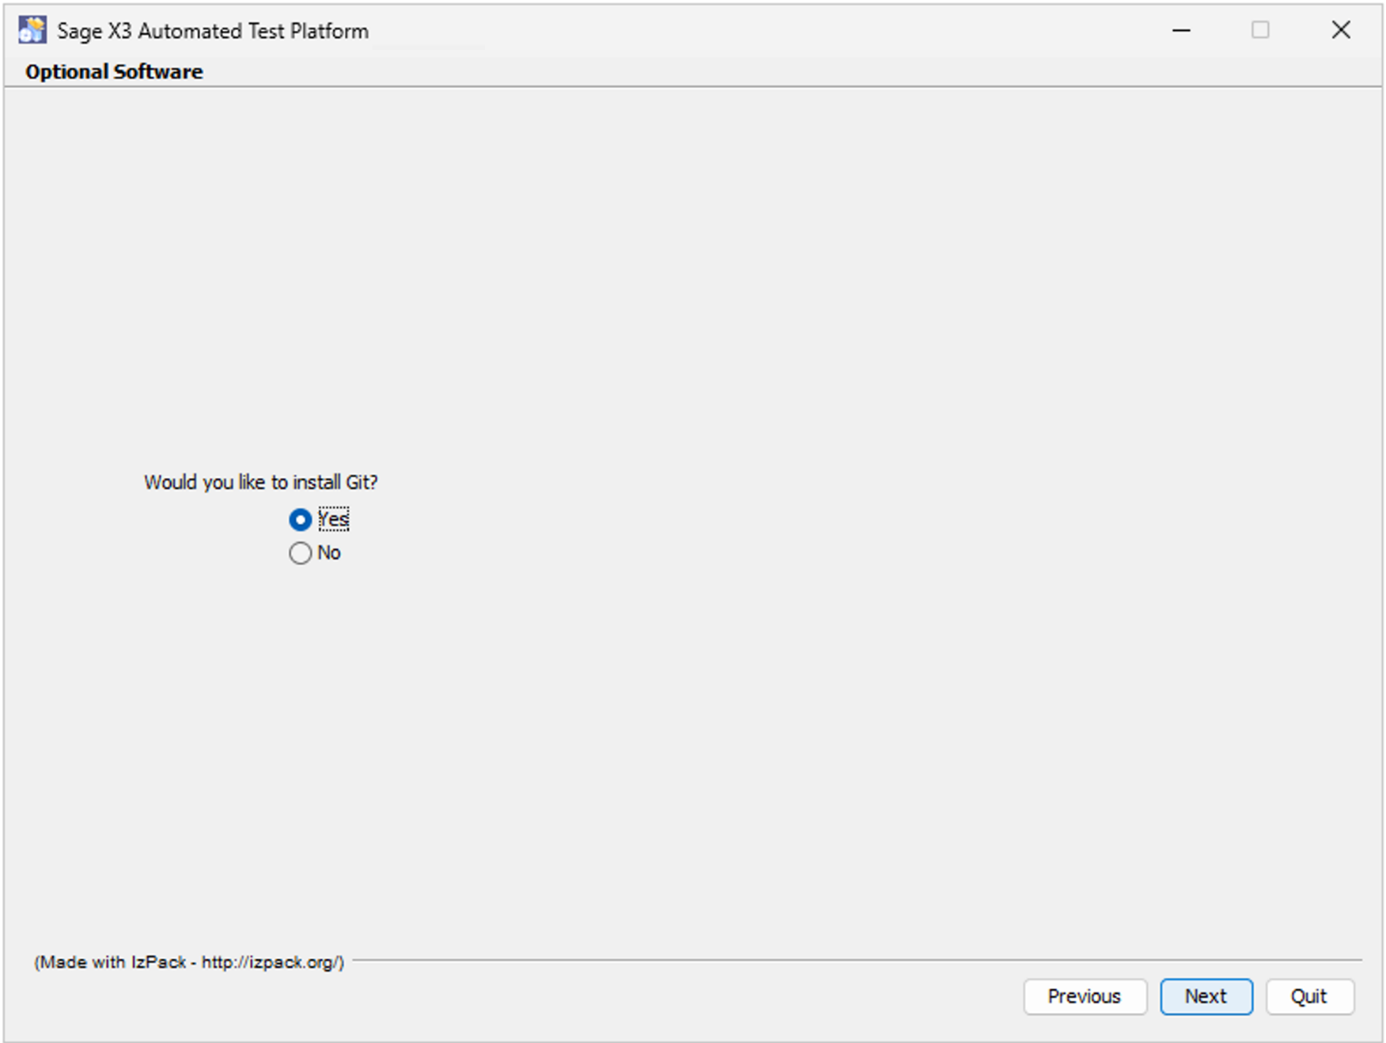
The Optional software page displays. At this stage, the installer informs you of what it will install on your system.
-
Indicate if you want to install Git or not and select Next to continue.

-
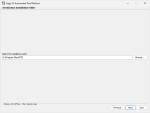
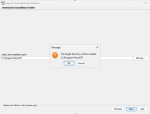
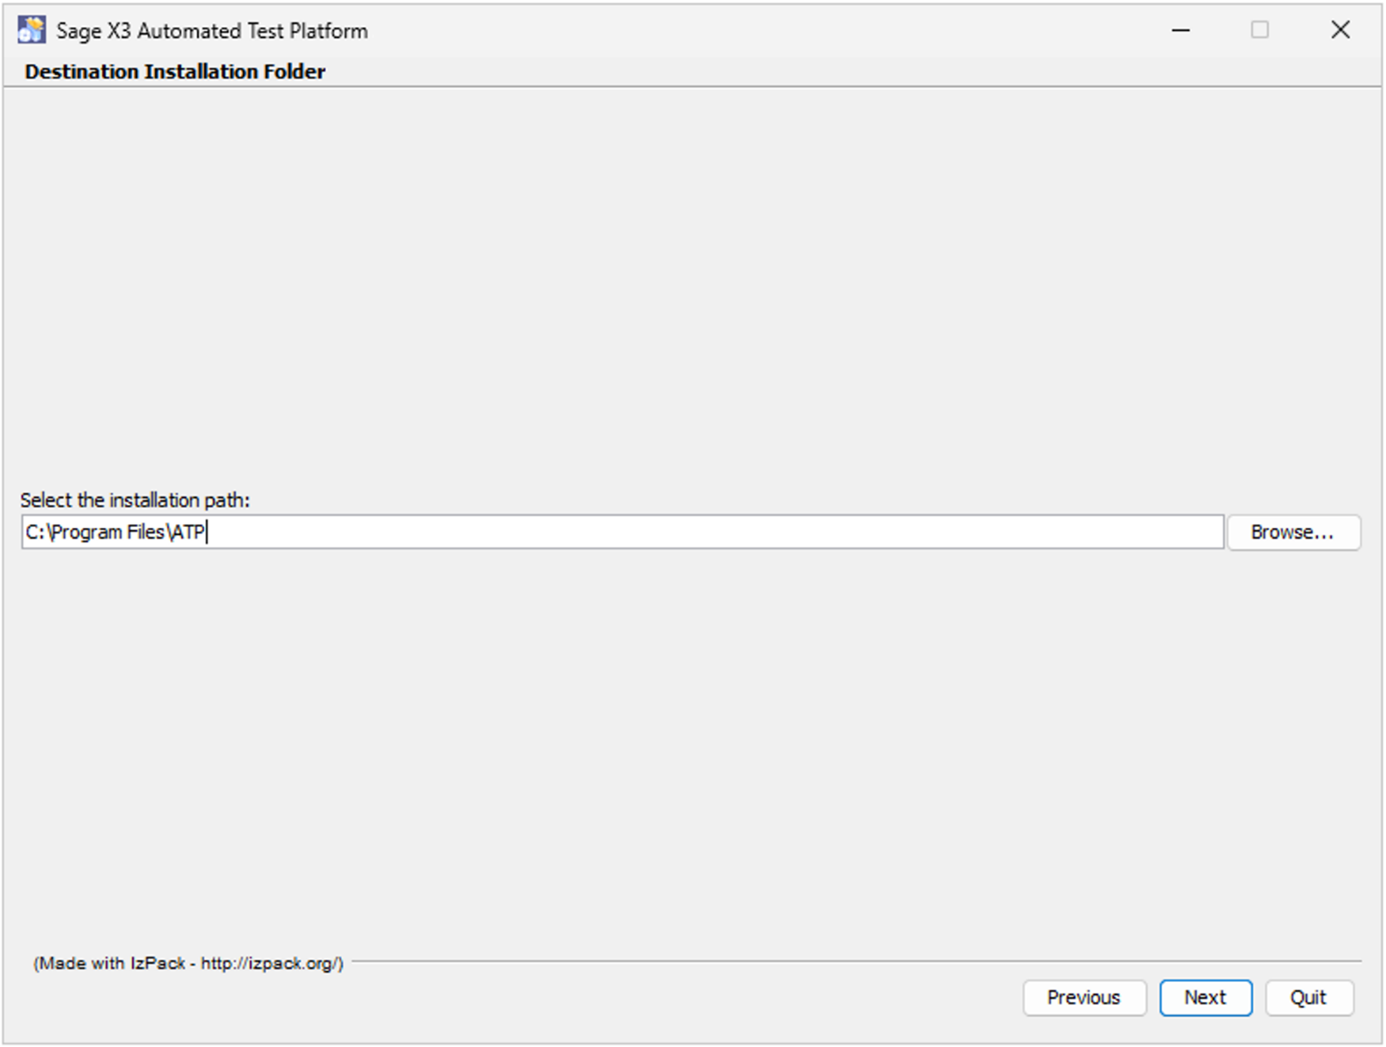
The Destination installation folder page displays.
-
Click the Browse button to select the path where you want to install Sage X3 Automated Test Platform.
-
Select the Next button to continue.
-
Select the OK button to confirm the creation of the folder.
-
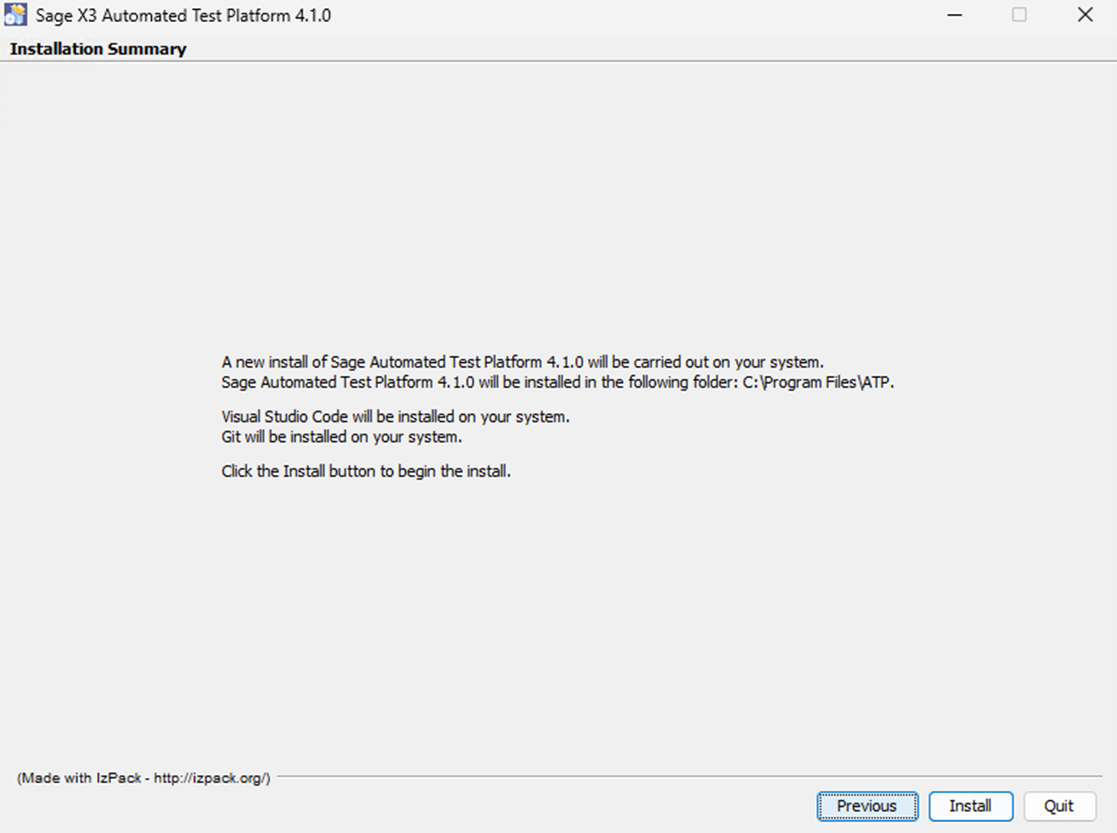
The Installation summary page displays. It summarizes the third-party software and Sage X3 Automated Test Platform library that will be installed on your system.
-
Select the Install button to proceed with the installation of the third-party software and Sage X3 Automated Test Platform.
-
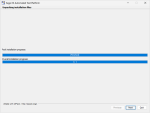
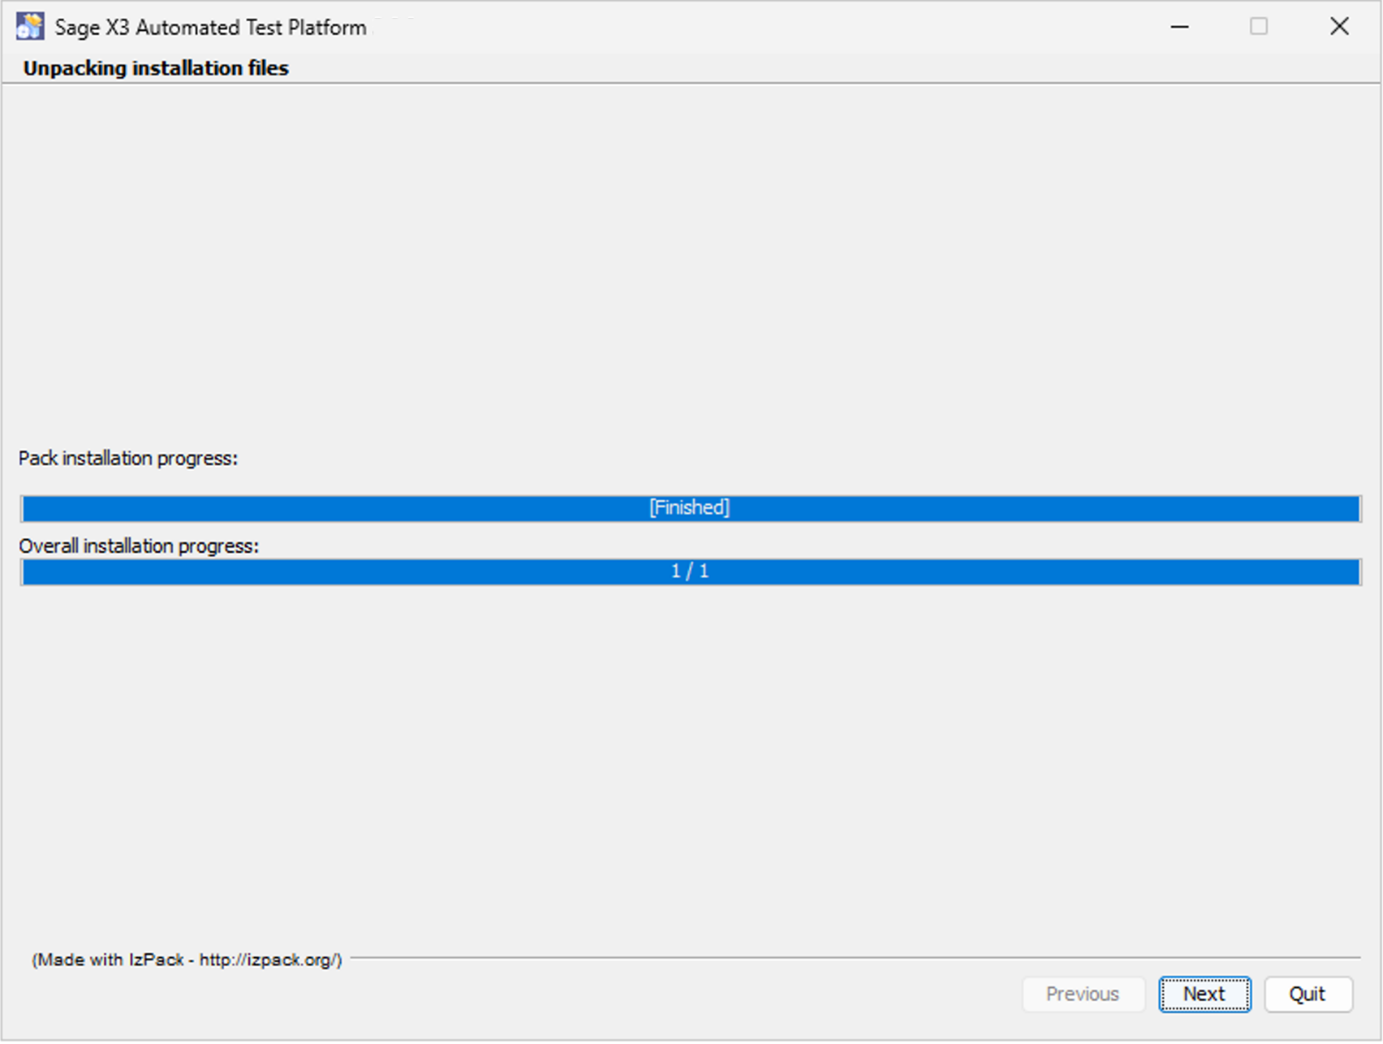
The Unpacking installation files page displays.
-
Select the Next button to continue.
-
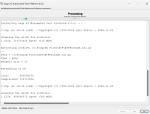
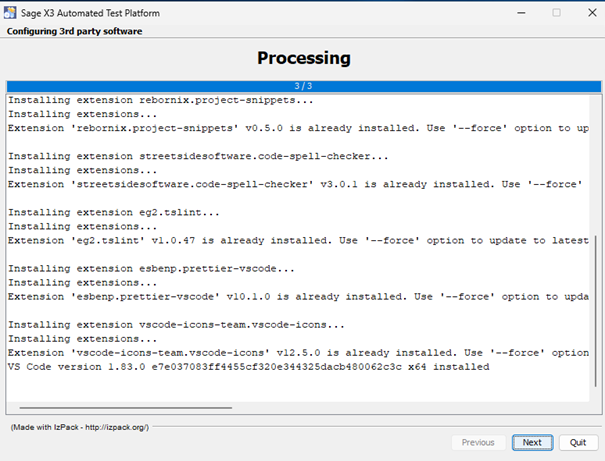
The Configuring 3rd party software page displays and the previously selected third-party software are installed on your system.
-
Wait until the end of the third-party software installation and select the Next button to continue.
(Version of Git and Visual Studio Code may differ if newer releases are available or depending on your system configuration)

-
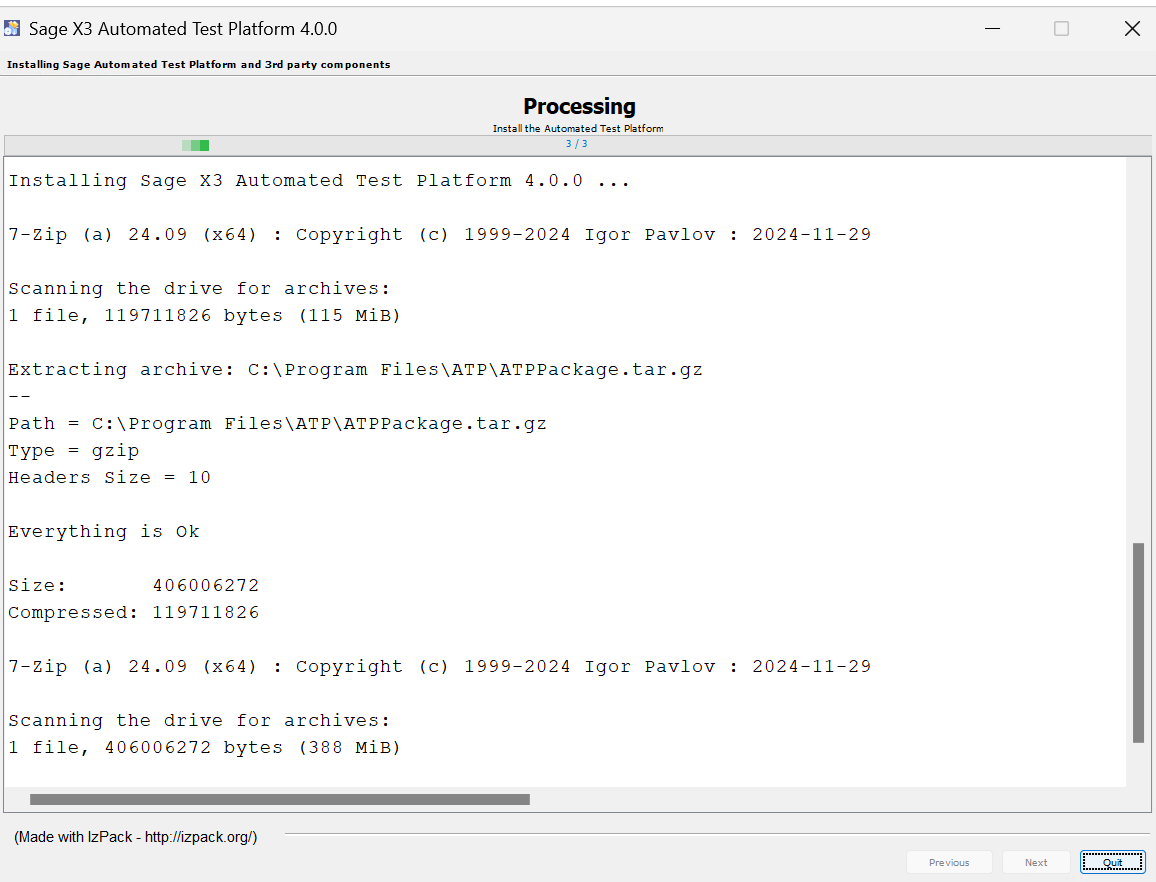
Select the Next button to continue and install Sage X3 Automated Test Platform.
-
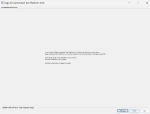
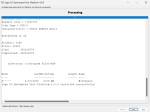
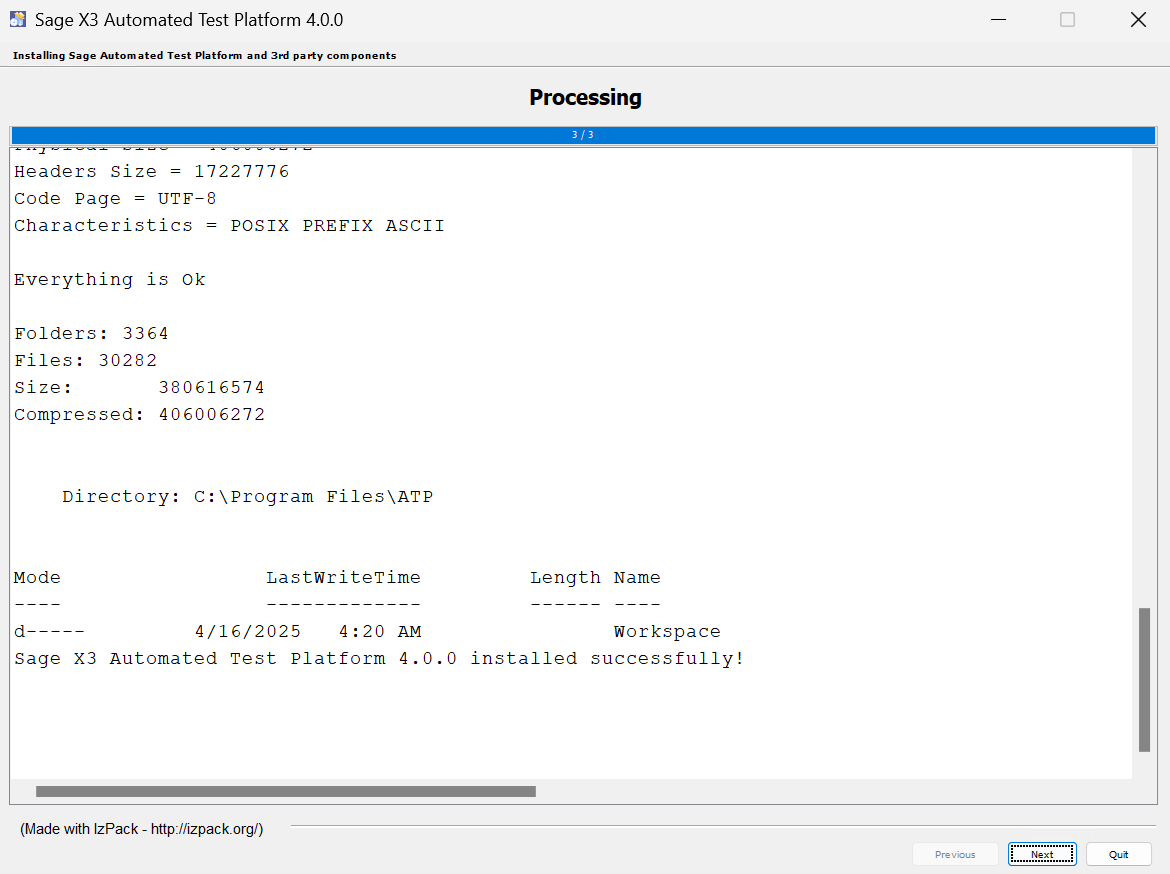
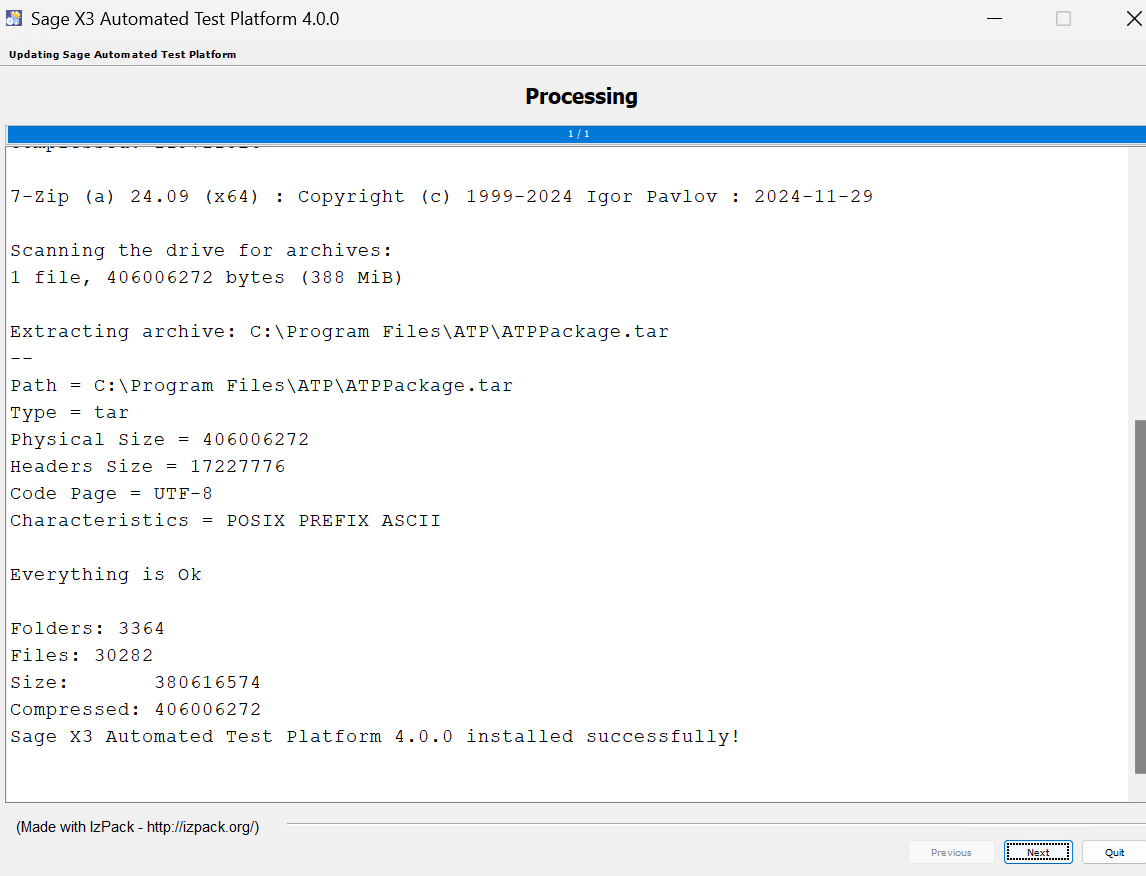
The Installing Sage X3 Automated Test Platform page displays and the installation of Sage X3 Automated Test Platform starts.
-
Once Sage X3 Automated Test Platform is installed, the following message displays: Sage X3 Automated Test Platform M.m.p installed successfully!
-
Select the Next button to continue.
-
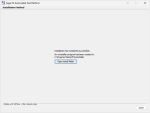
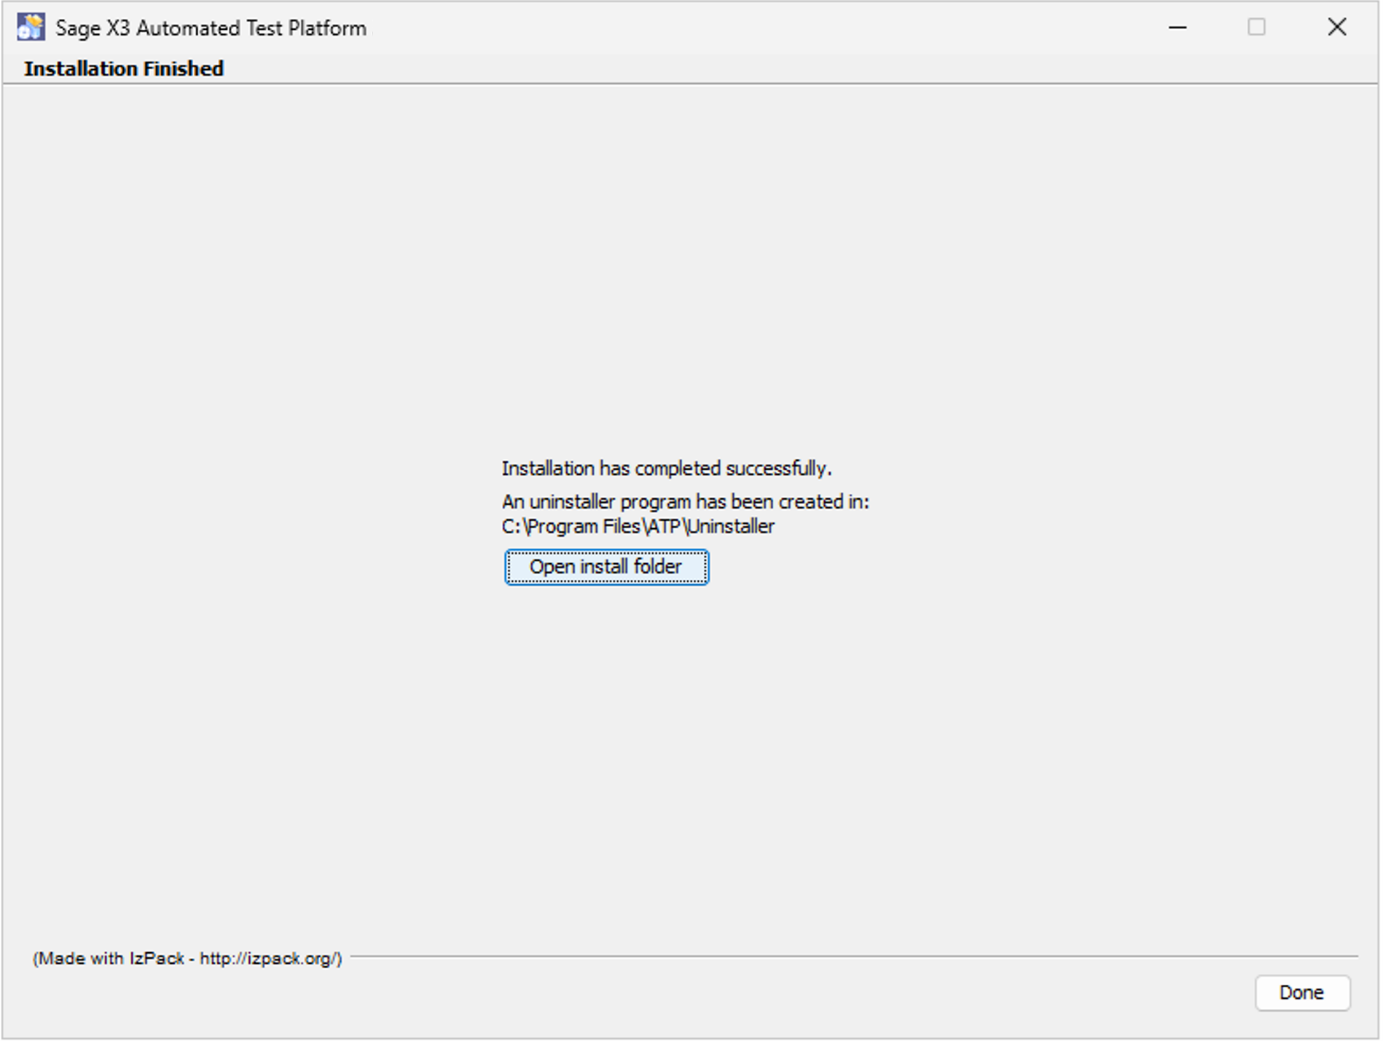
The Installation finished page displays.
-
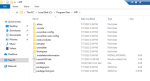
To open Visual Studio Code and load Sage X3 Automated Test Platform, select the Open install folder button. This opens the ATP folder in the Windows file explorer.
-
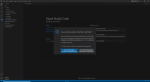
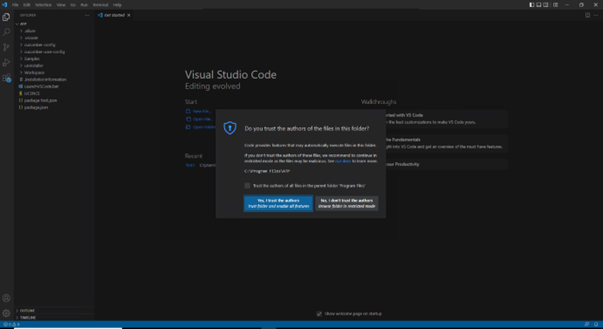
Double-click the LaunchVsCode application to launch Visual Studio Code and to load Sage X3 Automated Test Platform.
-
In Visual Studio Code, select Yes, I trust the authors.
-
Close Visual Studio Code.
-
Go to the setup wizard and select Done to finish the installation.
-
The next time you will open Visual Studio Code, the application will launch with Sage X3 Automated Test Platform.


Update Sage X3 Automated Test Platform
-
Double-click the sagex3atp-setup-M.m.p.jar file to execute the update process.
-
The setup wizard opens and the welcome page displays.
-
Select the Next button to continue.

-
The License agreements page displays.
-
Select I accept the terms of this license agreement and Next to continue the update process.
-
The Prerequisites software page displays. It will only display if you update Sage X3 Automated Test Platform from a version prior to 2.8.0.
-
For more information on software prerequisites, refer to the Verify the prerequisites section of this documentation.
-
If the prerequisites are OK, select the Next button to continue.

-
-
The Required software page displays. As you already used a previous version of Sage X3 Automated Test Platform, the setup wizard indicates which version of Visual Studio Code you are using.
-
The Optional software page displays. As you already used a previous version of Sage X3 Automated Test Platform, the setup wizard indicates which version of Git you are using.
-
If you didn’t install Git before, indicate if you want to install Git or not and select Next to continue.
-
The Destination installation folder page displays if you update Sage X3 Automated Test Platform from a version prior to 2.8.0.
-
Click the Browse button to select the path where Sage X3 Automated Test Platform is already installed.
-
Select the Next button to continue.
-
Select Yes to confirm that existing files will be overwritten. Only the necessary files will be overwritten. Your existing feature files won’t be modified.
Note - tipIf you update from Sage X3 Automated Test Platform version 2.8.0 or later, the installation summary page displays directly and you don’t need to indicate where Sage X3 Automated Test Platform is installed anymore. -
-
The Installation summary page displays. It summarizes the third-party software and Sage X3 Automated Test Platform library that will be installed or updated on your system.
-
Select the Install button to proceed with the update.
-
The Unpacking installation files page displays.
-
Select the Next button to continue.

-
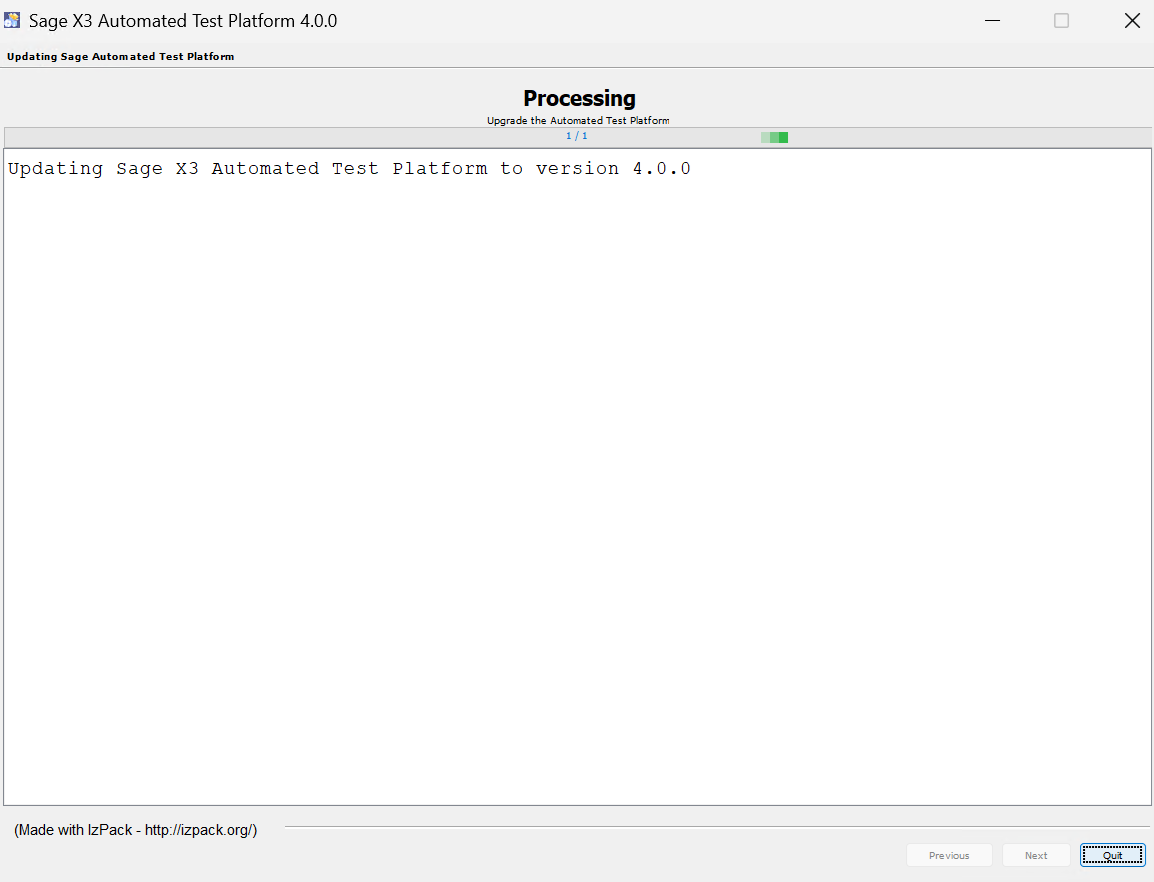
The Installing Sage X3 Automated Test Platform page displays and the update of Sage X3 Automated Test Platform starts.

-
Once Sage X3 Automated Test Platform is updated, the following message displays: Sage X3 Automated Test Platform updated to version M.m.p.
-
Select the Next button to continue.

-
The Installation finished page displays.
-
Select the Done button to finish the update.


Uninstall Sage X3 Automated Test Platform
This section explains how to uninstall Sage X3 Automated Test Platform.
The uninstallation process only uninstalls the Sage X3 Automated Test Platform. Third-party components, such as Visual Studio Code, and Git, are not uninstalled as you can continue using them for other purposes.
-
Back up the feature test files you have created before uninstalling Sage X3 Automated Test Platform.
-
Make sure that all your applications are closed.
-
Enter Program in the Windows search bar. (Example with Windows 11)
-
Select Add or remove programs.
-
Search for Sage X3 Automated Test Platform in the list.
-
Select Uninstall.
-
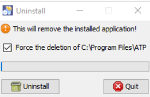
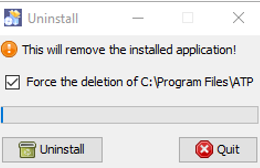
The uninstaller wizard launches.
-
Select the Force the deletion of ... checkbox.
-
Select the Uninstall button.
-
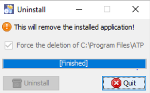
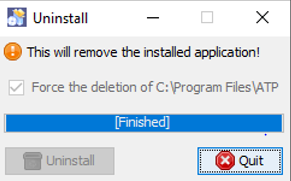
Wait until the end of the Sage X3 Automated Test Platform uninstallation process.
-
Select the Quit button when the uninstallation process is finished.


Find out more
First steps with Sage X3 Automated Test Platform library
To know more about using the Sage X3 Automated Test Platform library, refer to the section First steps with Sage X3 Automated Test Platform library in the document Sage X3 Automated Test Platform - User guide.