Installing Jenkins
Prerequisites
Jenkins server prerequisites
For Jenkins to execute the Sage X3 Automated Test Platform pipeline (ATP-RunAutomatedTests) your system must meet the minimum configuration requirements described below.
| Category | Minimum configuration recommendations |
|---|---|
| Operating system | Windows Server 2019 64-bit |
| Disk | SSD (Solid State Drive) |
| Memory | 16 GB RAM |
| Processor | Intel® Xeon® Processor E5-2686 v4 2.30 GHz |
Moreover, these applications can require using different versions of Java runtime that are not compliant with each other.
Required software
For the Sage X3 Automated Test Platform library to run your system must include the following software:
- Azul Zulu or Oracle Java
-
Refer to the prerequisites_atp documentation for more information about the Java Runtime Environment (JRE) compatibility
Download and install Java Runtime Environments (JRE):
- Node.js
From Sage X3 Automated Test Platform version 3.2.2 Nodejs doesn't need to be downloaded anymore and installed as a central program on your Jenkins server.
-
Nodejs binary is delivered with Sage X3 Automated Test Platform Library.
-
To know which version of Nodejs is delivered with Sage X3 Automated Test platform, refer to the prerequisites_atp documentation
-
- Git
Download and install the Git version that is compliant with your operating system from: https://git-scm.com/downloads.
Additional requirements
An internet connection is required to be able to download and install third-party components.
Jenkins server installation
Configuring a Jenkins (administrator) user
Jenkins services must be executed with a specific user. Jenkins services can be executed with a regular user or an administrator user. However, when the user is not an administrator user, Jenkins has difficulties to restart after an update. When it happens, you must manually stop and restart the Jenkins services.
If you want to add a user to the Administrator group, see step 6 of the following procedure.
Follow the steps below to create an administrator user for Jenkins:
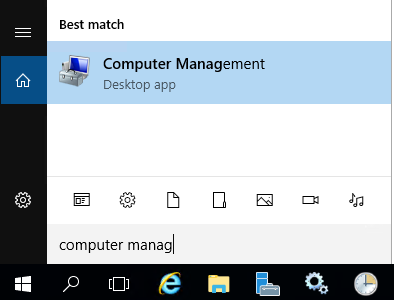
- Locate the Computer Management app.
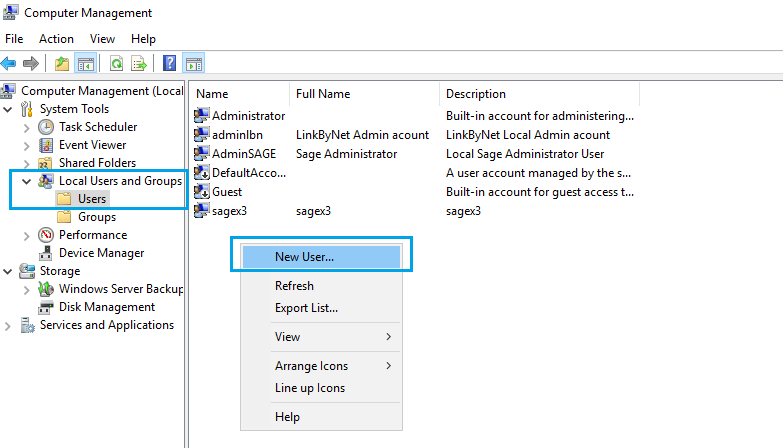
- Select Local Users and Groups.
- Select the Users folder.
- Right-click and select New User.
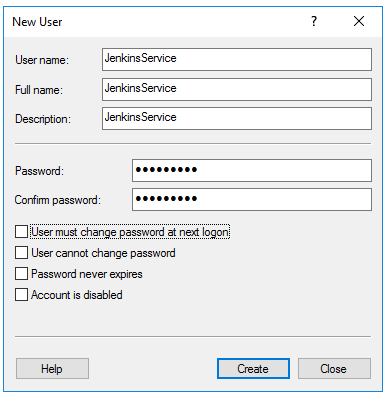
- Enter the New User details. Click Create, then Close.
-
[Optional]
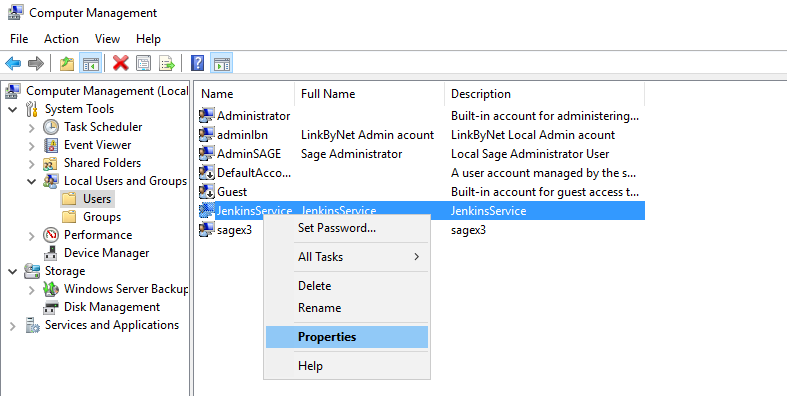
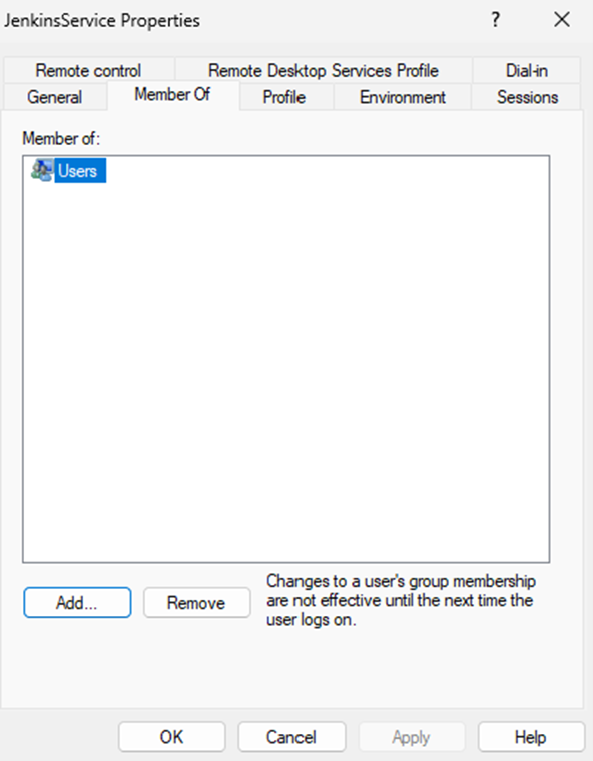
To assign the Jenkins (administrator) user to the Administrator group:- Right-click the JenkinsService administrator user you have just created.
- Click Properties.
- Select the Member Of tab, then click Add.
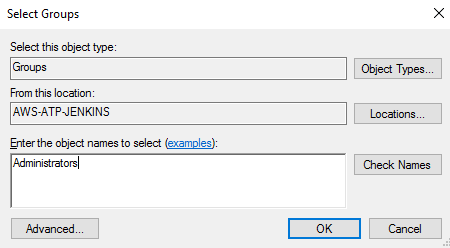
- Enter the object names to select: Type Administrators.
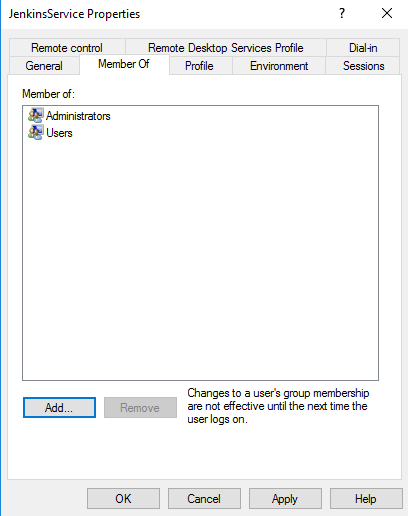
- Click OK, then Apply.


Note - successClick OK to complete the user group assignment.
-
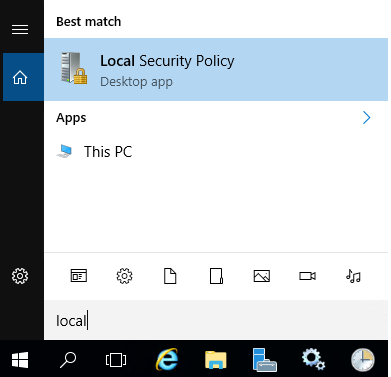
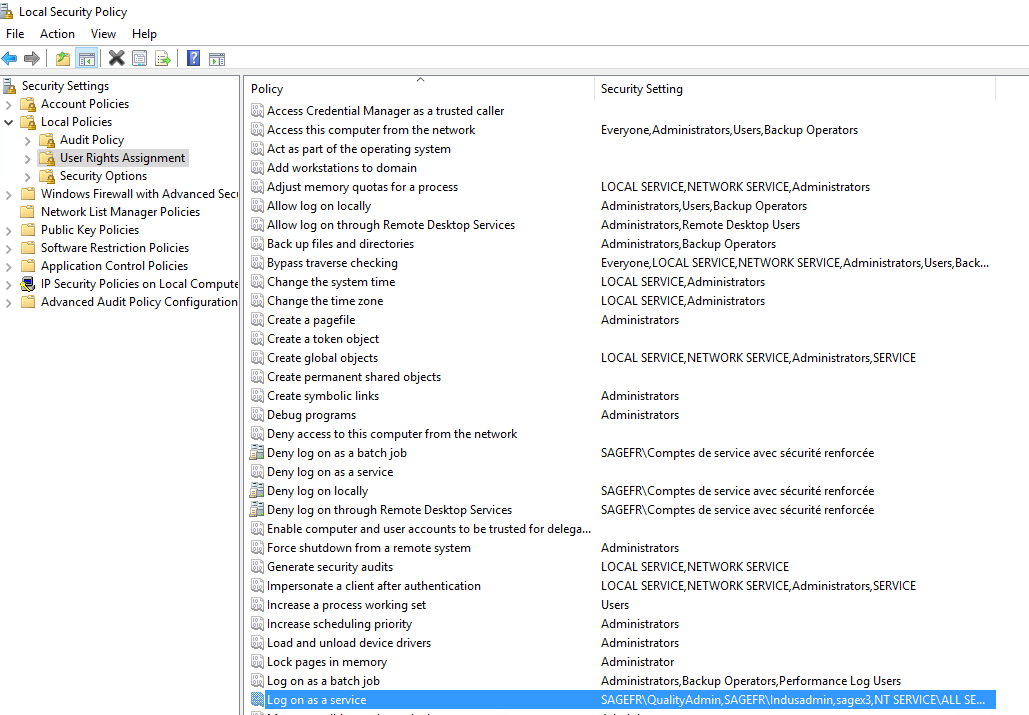
To enable the JenkinsService (administrator) user to log on as a service:
- Open the Local Security Policy app.
- Expand the Local Policies folder and select the User Rights Assignment folder. Right-click Log on as a service.
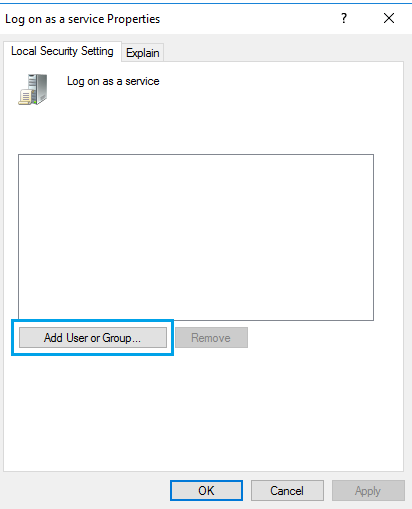
- Click Properties.
-
Click Add User or Group.

-
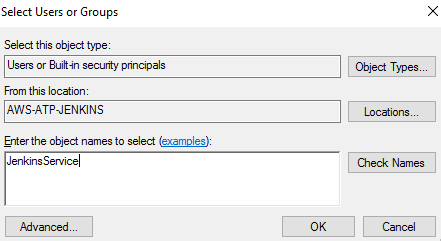
Complete the following fields, then click OK:
From this location: Type in the location of the Jenkins server.
Enter the object names to select: Type in the JenkinsService administrator user.

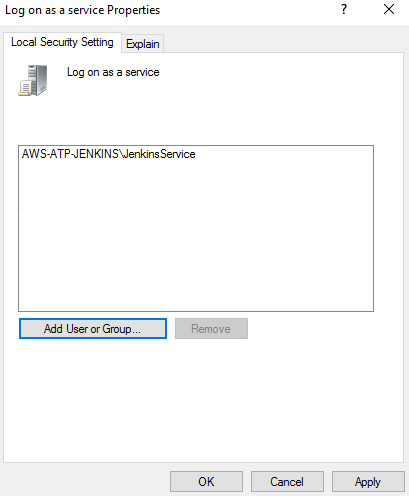
- Click OK, then Apply.


Installing Jenkins
- Open the jenkins.io website: https://www.jenkins.io/.
- Click Download.
- Choose a Jenkins LTS (Long-Term Support) version to download.
- Select the Windows installer.
- Check that you are connected as an administrator user.
-
Then follow the instructions given on jenkins.io: https://www.jenkins.io/doc/book/installing/windows/.
Note - settingsWhen the Service Logon credentials wizard is displayed, select Run service as LocalSystem. Sometimes when you install Jenkins with a domain user, the installation can fail. It is recommended to run the service as a local system instead during the installation and to change it afterward.
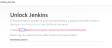
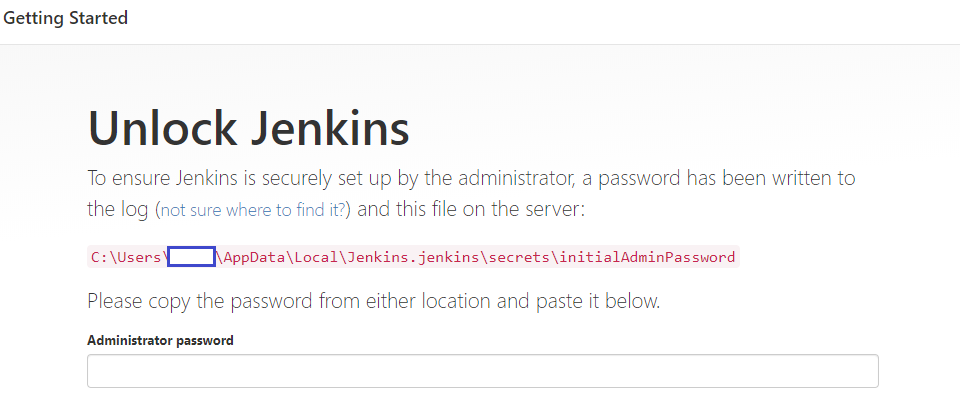
Once the wizard indicates that the Jenkins installation is completed, a web page to start the Jenkins service is displayed. When the service is ready it will ask you to type in a Jenkins initial password. Do not type in a password.
Setting up a Jenkins service user
-
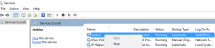
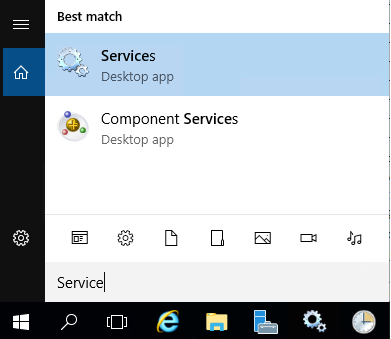
Open a Services app.

-
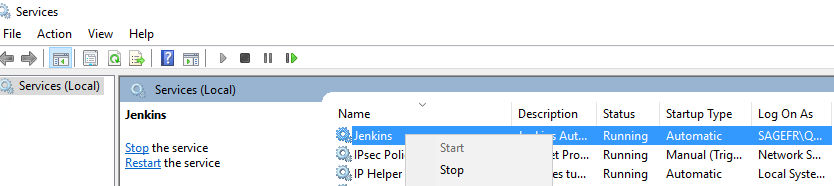
Locate the Jenkins service.
Right-click, then click Stop.
- Right-click, then click Properties.
-
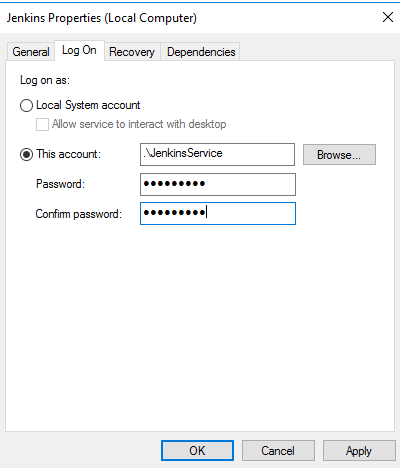
Select the Log On tab. Complete the following fields:
This account: Type in .\[Jenkins administrator user], where [Jenkins administrator user] is the Jenkins (administrator) user you created previously.
For more information about creating a Jenkins (administrator) user, see Configuring a Jenkins (administrator) user.
Password / Confirm password

- Click Apply, then click OK.
-
From the Jenkins Services window, right-click, then click Start.


Finalizing the Jenkins installation
- Open a browser and navigate to the local host URL (for example: http://localhost:8080).
-
Follow the displayed instructions, inserting the Jenkins Administrator password where requested.
- Click Continue.
- Click Install suggested plugin and wait for the suggested plugin to be installed.
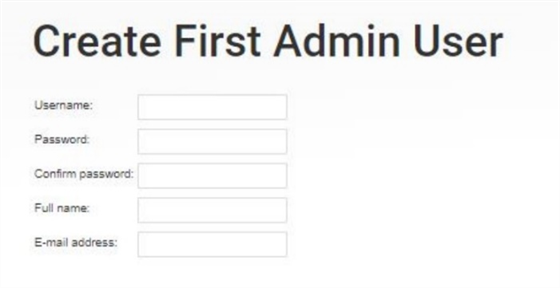
- Create your first administrator user, then click Save and continue.
-
If your server can be identified via a Domain Name System (DNS), type in the URL that you will use to connect to Jenkins.
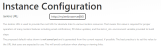
- Click Save and finish.
To start Jenkins, click Start using Jenkins.