Use the plugin for Excel
The Excel connection is available directly from:
-
The list available for read-only pages
-
Grids
But you can also use it from Excel directly.
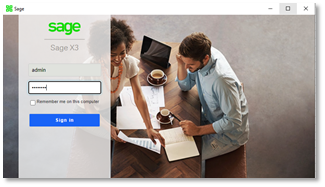
When you use the plugin and open Excel, you need to authenticate through the normal authentication page first.
Once in Excel, you can find an additional Sage tab in the ribbon.

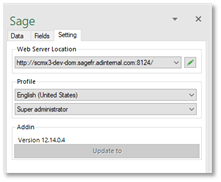
Setting tab
This tab allows you to set additional connection options up. You can select:
-
The Sage X3 web server to connect on. The pencil icon allows creating additional ones.
-
The language
-
The role
The add-in's version is displayed, and an Update button is available if a more recent release exists.
Data tab
This tab allows you to select the endpoint associated with the data you want to extract.
The Excel plugin allows you to enter the result of a query that can either be linked to:
-
A Sage X3 entity such as class and representation.
-
A data source linked to a menu item that can display on a dashboard. This includes queries and statistics.
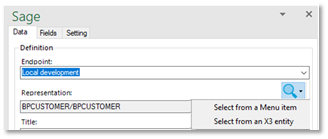
Using the magnifying glass icon, you can Select from a Menu item or Select from an X3 entity.
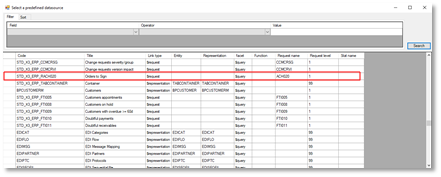
When you click Select from a Menu item, you can see all the available data sources, including representations, queries, and statistics.
For example, you can select the orders to Sign query.
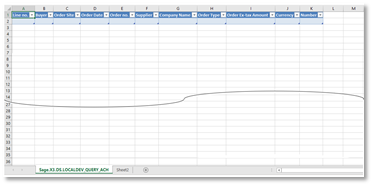
This replaces data on the current sheet, including a header line. The name of the sheet is also assigned.
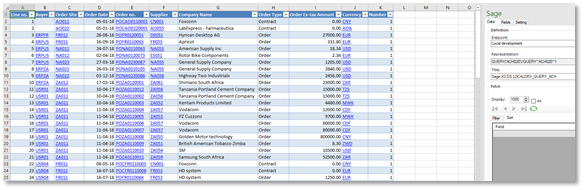
Refreshing the data returns all the rows.
In the screenshot below, 126 lines are fetched. You can set a limit on the right panel, or all rows can be retrieved if you select the corresponding checkbox.
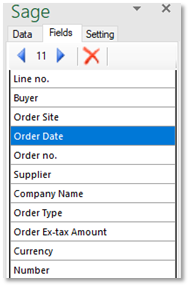
Fields tab
This tab allows you to:
-
Remove columns. Select the
 button to do so.
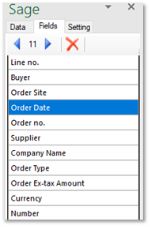
This refreshes the grid automatically.
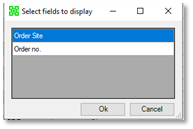
When all available fields are present, a + icon displays. -
Add one or more fields.

-
Change the order in the table by cutting and inserting the column in the grid. The data is automatically refreshed.
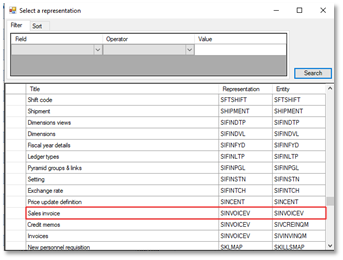
The Select from an X3 entity option gives access to classes and representations and works globally with the same features. For example, select Sales invoices.
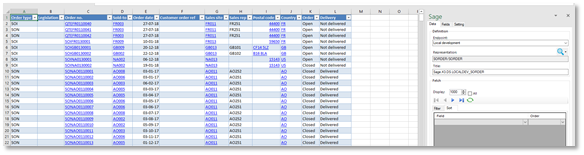
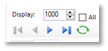
You can change the number of lines displayed and read the following lines using the navigation buttons.
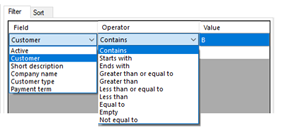
You can change the sort order. For example, you can sort the orders by order data and number. Select the corresponding fields on the Filter sub-tab to do so.

On the Filter sub-tab, you can add selection actions. For example, you can add a filter on the customer reference.

All field columns have a selector through a combo-box with the list of fields that you can use. There is also a drop-down menu with the available operators.