Domestic transport
Why?
The purpose is to be able to manage transport between the supplier site and the receipt site in a simple way.
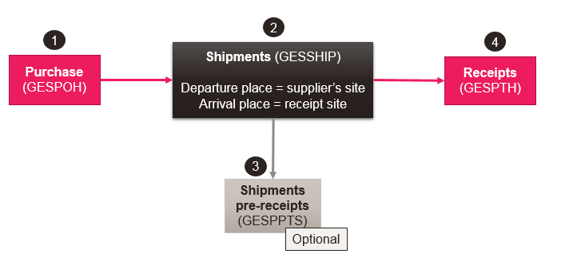
How is this functionality integrated into the flow?
What are the prerequisites?
- Location (TABPLACE)
- Transport lead time (TABPLACETIME)
- Products-sites (GESITF)
- Set up the various Locations:
- Create the supplier location:
- Select the Location type: Supplier
- Select the Supplier. The default supplier address is displayed.
- Create the location of the receipt site:
- Select the Location type: Site
- Select the Site. The default site address is displayed.
- Create the supplier location:
-
Set up the Transport lead time:
- Create a transport lead time between the supplier location and the receipt site:
- Select the Departure location: supplier location created previously.
- Select the Arrival place: the receiving site created previously.
- Select a Transport mode: road, rail, sea, air or multimodal.
- Enter the Lead time in number of days.
- Create a transport lead time between the supplier location and the receipt site:
-
Set up the Product-site in order to create the purchase orders.
How to save a transport?
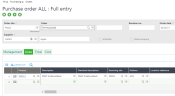
- Create a purchase order.
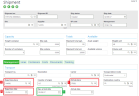
- Create a shipment and select the order lines previously created.
- Do not enter any shipment date.
- Departure and arrival dates are optional if you do not need to enter dates. On the shipment lines, you can modify the expected receipt date. This date defaults from the order line.
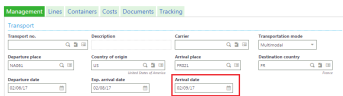
- You need to calculate the expected arrival date and use the departure/arrival places.
- Enter the departure date, departure and arrival places. Select the transport mode.
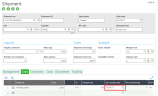
- The expected receipt date of the shipment is calculated based on the transport lead time that has been set up.
- The expected receipt date of the shipment is used to populate the expected receipt date displayed on the shipment line.
- If the shipment arrival date is entered and it is different from the expected shipment date, the expected receipt dates of the shipment lines are updated. The actual shipment arrival date prevails on the expected shipment date for the calculation of the receipt date of the shipment lines.
- Enter the departure date, departure and arrival places. Select the transport mode.
- To optimize the filling of the shipment, you can enter a maximum weight/volume in the capacity management block.
- If necessary, you can enter a number of days to be used in order to postpone the expected arrival date.
- Do not enter any shipment date.
- The Shipment prereceipt (GESPPTS) is optional.
- Enter the prereceived quantity and save.
- Create the shipment receipt. If a quantity has been prereceived, the receipt quantity defaults to that prereceived quantity.
Setup
- Create the supplier place: NA061
- Create the place of the receipt site: FR021
-
Create a transport lead time between the departure place (NA061) and the arrival place (FR021) using a multimodal transport mode and a lead time of two days.


Operating flow
-
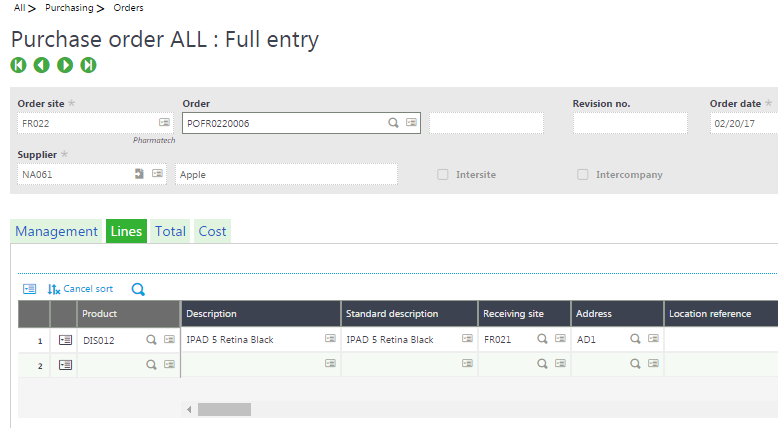
Enter an order: the FR022 site orders 100 iPads from Apple (the receipt site is the FR021 site).
-
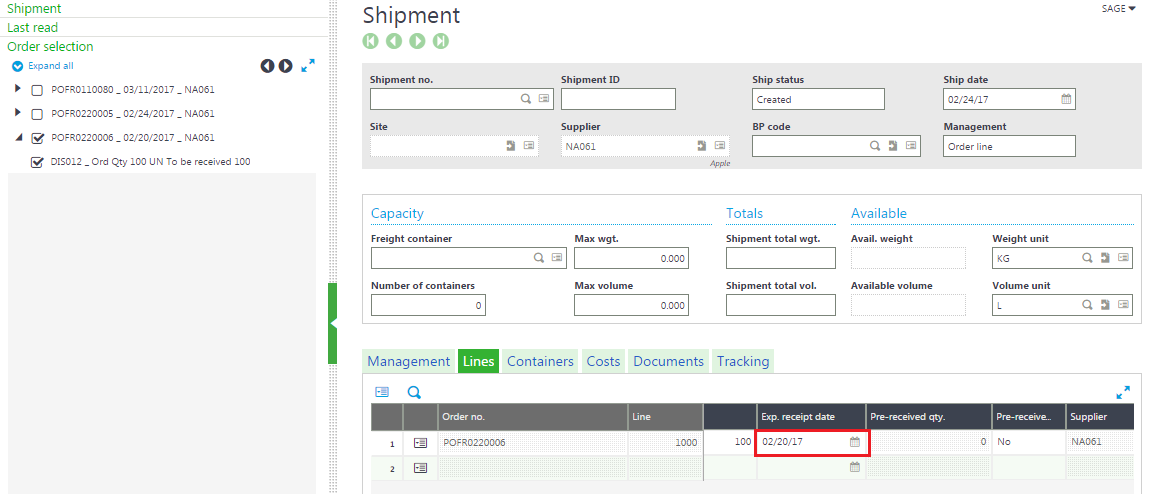
Create a shipment and select the order.
The expected receipt date of the shipment line defaults from the expected receipt date of the order line.
- Enter:
- The departure place: NA061
- The arrival place: FR021, in multimodal transport mode
- The departure date: February 6
-
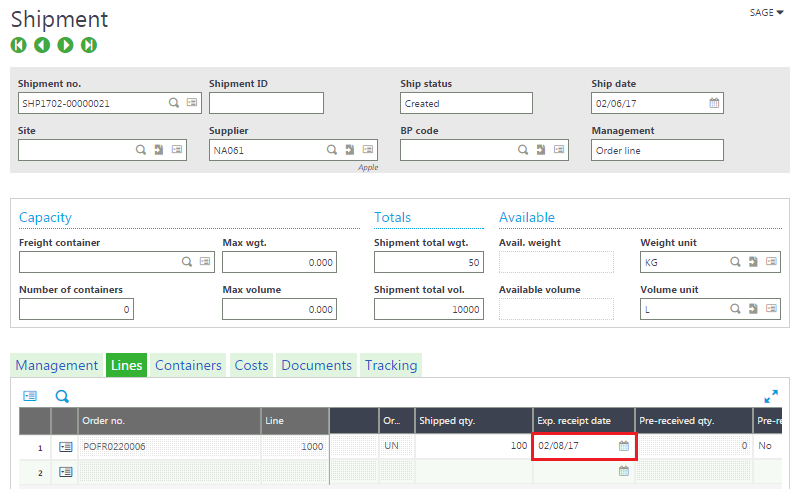
Save.
The expected arrival date of the shipment is calculated to be February 8 (February 6 + 2 days of transport lead time).
The expected receipt date on the shipment date is now February 8.
-
If you enter February 9 as the actual arrival date:
The expected receipt date on the shipment line is updated and also displays February 9.


- A shipment can group several purchase orders originating from various sites but from only one company. In this case, you can receive the shipment as many times as there are shipment lines by receipt site or supplier.
- It is not necessary to enter a transport on a shipment. However, if a transport is entered and it is associated with several shipments, the departure and arrival places are displayed for the associated shipments along with the transport dates. A transport is not limited to a single company. It can group several shipments from different order sites that do not belong to the same company.
- You can manage the documents relating to the shipment in the form of attachments and perform user tracking of the status of the various shipment steps.
- You can create additional invoices relating to the shipment in order to consider new costs, or costs not valued in stock.
- Shipments are integrated into the traceability of purchase documents.