Mobile Automation devices configuration
Overview
You need to install Sage X3 Services to use Mobile Automation (ADC) for distribution and Mobile Automation (ADC) for manufacturing.
There are three main steps to set up Sage X3 Services for Mobile Automation:
- Install Sage X3 Services
- Configure the database connection in the Syracuse server
- Install and configure Mobile Automation on all your devices.
Important: Use a PowerShell prompt with administrator privilege for all the commands below.
Navigate the handheld application
Important: Restart the Syracuse agent service to reload the nodelocal.js configuration.
Open the handheld page: https://loginUrl/handheld/
Example: https://syracuseserver:8124/handheld/
Resize the handheld application on a PC
Note: This section is relevant only if you open the handheld application on a PC.
You need to size the screen correctly to replicate a width between 3.5 and 6 inches.
-
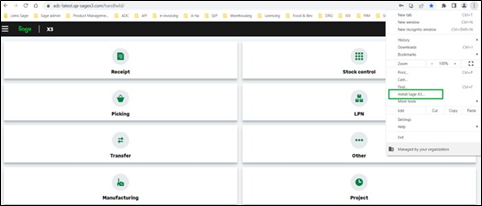
In your Chrome browser, go to Customize and control Google Chrome > Install Sage X3.
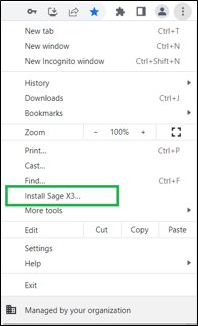
-
A confirmation window pops up. Click Install.
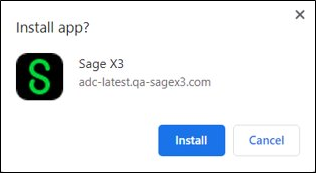
-
The following screen displays.
-
You can resize the window manually to a size similar to the one of a portable device.
-
A shortcut has been created on your desktop.

Chrome is the recommended browser for Sage X3 Services because the web view embedded in the web application uses Chrome for scanning and the camera.
Chrome is the only browser that works well if you use a scanner. You can use other browsers such as Edge for demo purposes as long as you do not use the scanner since it is not supported outside of Chrome (Settings and more > Applications > Install the site).
Portable devices configuration
Note: Sage does not provide the devices.
The required operating system is Android version ≥ 8.0.
Screen size:
-
Handheld scanners: 3 to 4 inches
-
Rugged mobiles embedding a scanner: 4 to 6.4 inches
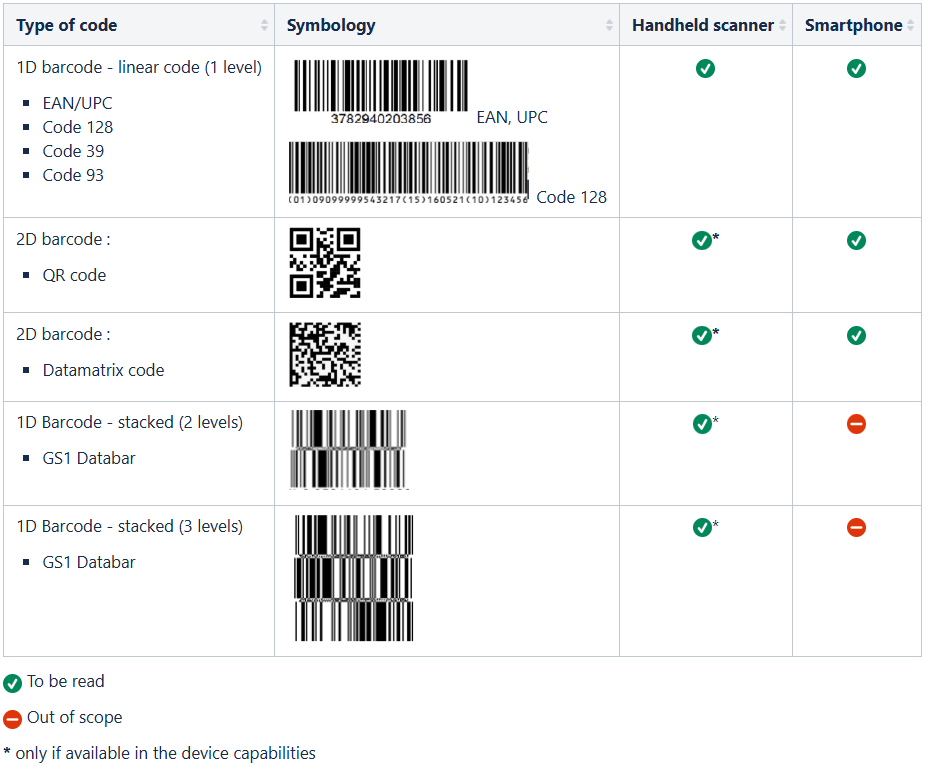
Scanner: 2D image scanning decoding both 2D (QR code, Datamatrix simple code) and 1D (barcode) codes. The browser required to connect to Sage X3 Services is Chrome version ≥ 45.
Types of codes
Single data
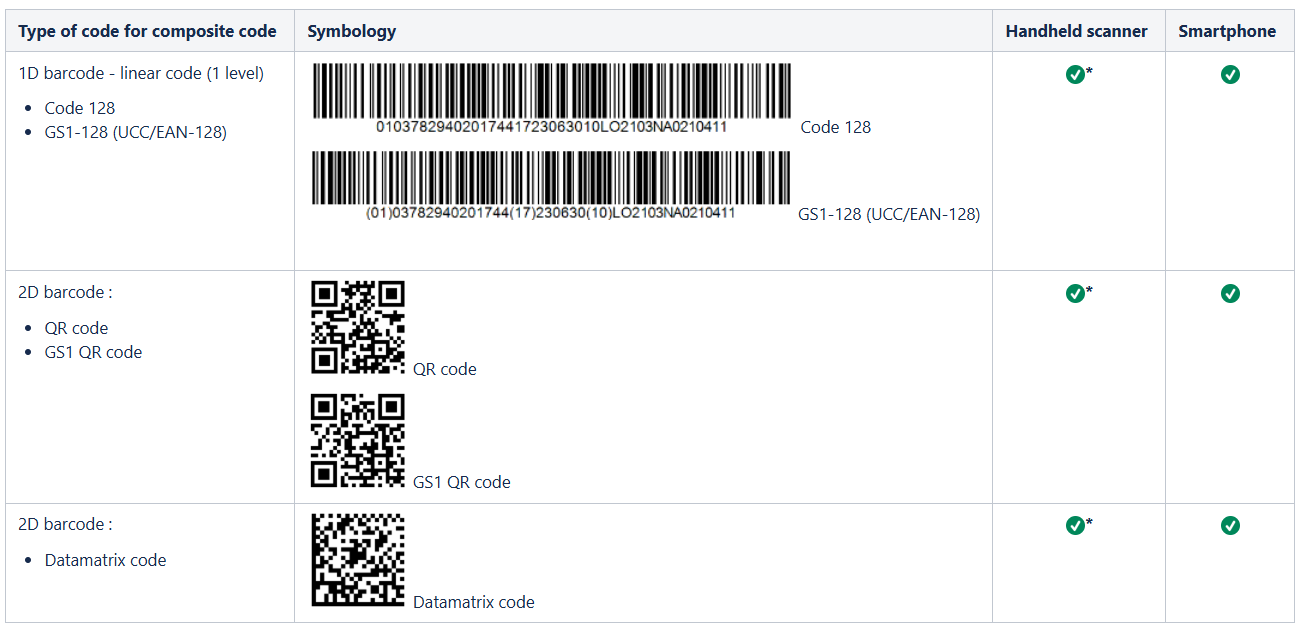
Composite code

Handheld scanners: Select or scan the URL on first use and add it to the Home screen to easily access the web application login page the next time. Transactions have been tested using:
-
Honeywell CK65-LON-BSC210E
-
Zebra MC339R-GF2HG4EU
-
Zebra MC330K- GE2HG4RW
-
Zebra MC930B-GSEEG4NA
-
Zebra MC930P-GSCDG4RW
For more information, consult the Zebra support documentation.
MC33 limitation: On the physical keyboard, it is possible to select the first letter but not the second and the third. To manage that, you need to scan or use the virtual keyboard.
Add the application to your portable device's home screen
-
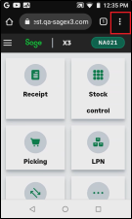
In your Chrome browser, open the handheld page: https://loginUrl/handheld/
Example: https://syracuseserver:8124/handheld/ -
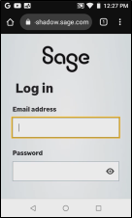
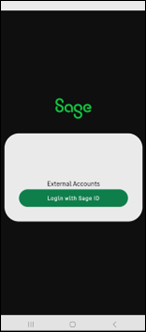
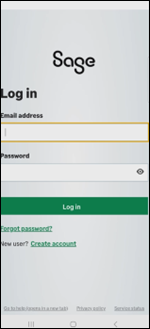
Log into the application:
-
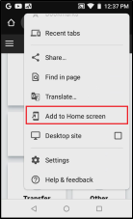
Next to the URL, tap the ellipses (Customize and control Google Chrome).
-
Select Add to home screen:
-
Tap Add to confirm:
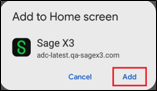
-
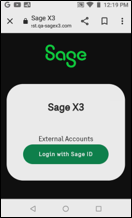
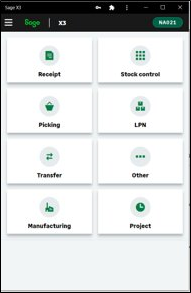
The icon displays on your device’s home screen:
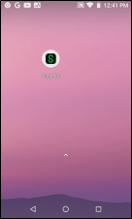
-
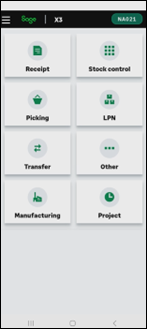
You can now tap the icon to log into Mobile Automation directly from your device’s home screen:

Smartphones
Note: Sage does not provide the devices.
Since release 2023 R1/V12.0.33, you can use Mobile Automation on smartphones, respecting the portable devices configuration described above.
Transactions have been tested using:
-
Nexus 5X, Androïd v8.1
-
Samsung Galaxy A51 – SM-A515F, Androïd v13
-
Samsung Galaxy A6 – SM-A600FN, Androïd v8
-
Samsung Galaxy A40 – SM-A405FN, Androïd v11
Add the application to your smartphone's home screen
Note: The default mobile app language is the language you have selected in Sage X3 desktop. Before installing the APK file, make sure you have selected the right language on Sage X3 desktop as you cannot change it when the APK file installation is complete.
-
Get the APK file:
The component is available at the same time as the release package from the local knowledge base, at the usual place where you retrieve the components of a release. -
Install the APK file:
- Go to Settings, then Security
- Enable unknown sources
- Search for the APK on your phone (using a file explorer for example)
- Launch the APK file and follow the instructions
- (Optional, but recommended) Disable unknown sources.
-
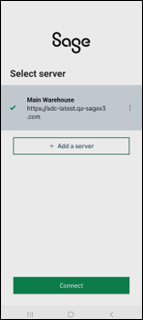
Configure the first server:
For the first connection, once you accept the Terms and conditions, you can configure the server URL you will use.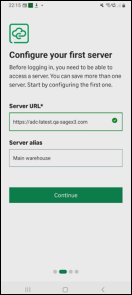
-
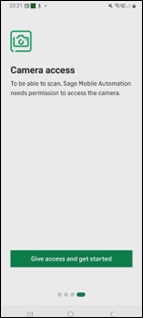
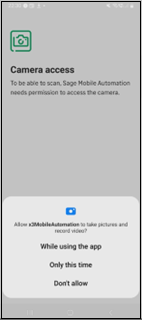
Give access to the camera, select the "server" and get started:
-
The icon displays on your smartphone’s home screen.

-
You can now tap the icon to log into Mobile Automation directly from your smartphone’s home screen.
-
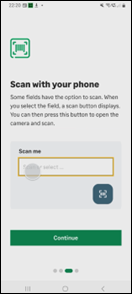
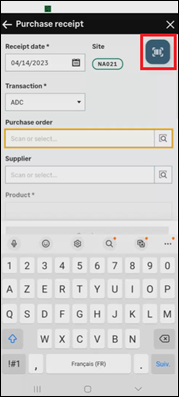
Here is an example of the way the scan button appears. When you select the field, it appears on the top right of the screen; you can tap on it and scan.
-
To log out of Mobile Automation:
- Log out from your account
- Swipe up the page from multiple page display to reset your app history and empty your cache.