Sage X3 Services installation
Overview
You need to install Sage X3 Services to use Mobile Automation (ADC) for distribution and Mobile Automation (ADC) for manufacturing.
There are two main steps to set up and check the server environment for Sage X3 Services:
- Install Sage X3 Services
- Configure the database connection in the Syracuse server
Important: Use a PowerShell prompt with administrator privilege for all the commands below.
Prerequisites
The Sage X3 Services component requires at least Sage X3 2021 R2 (V12) installation using a Microsoft® SQL Server
or an Oracle database.
You must install it on a Windows Server 2019 or 2022 operating system.
The Sage X3 Services component is not available on Linux.
'hostname':'port' combinations used by client devices to reach the application must also be reachable by the X3 Services server and correctly defined in Syracuse.
You need to have one of the following badges associated with your user:
- ADCDIS for distribution
- ADCMAN for manufacturing
- ADCALL for both distribution and manufacturing
Install Sage X3 Services
Follow these steps to install Sage X3 Services:
Since 2025 R1
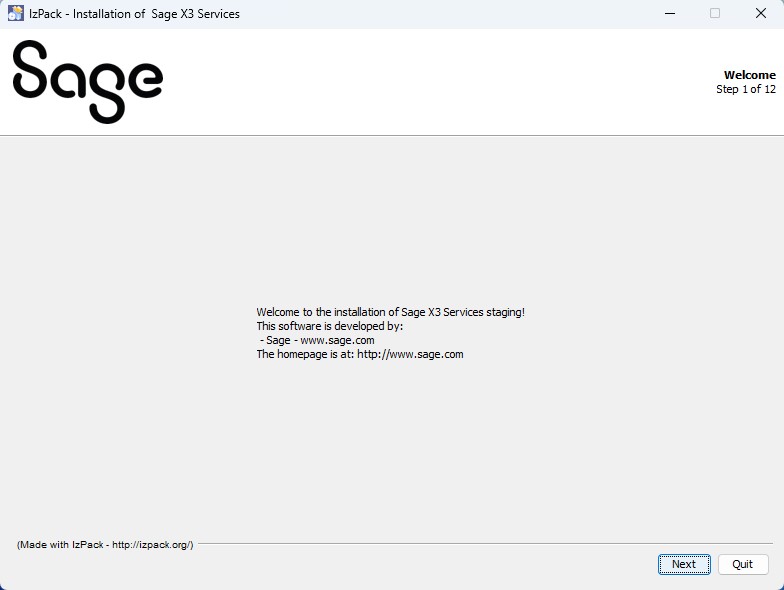
1. Double-click x3-services-M.m.P.b-win.jar to install Sage X3 Services.
2. Select the installation language and click Ok.
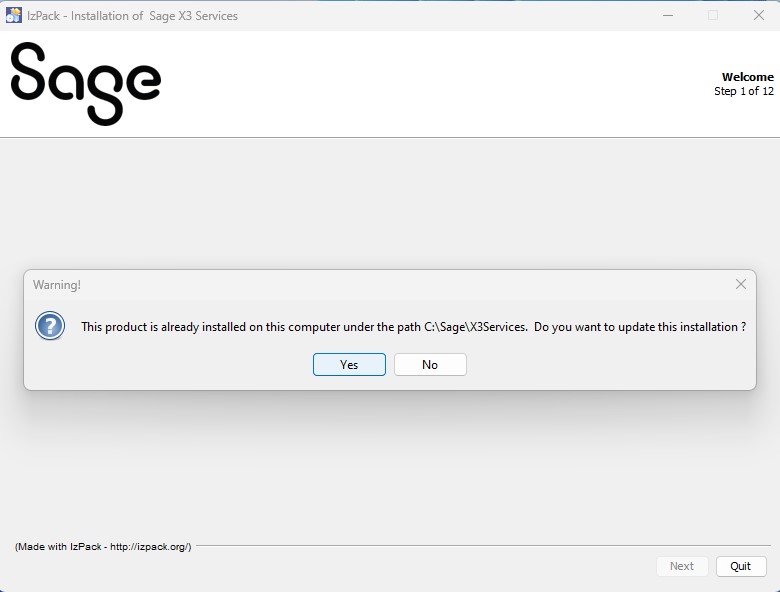
3. Click Next.
If you've already installed Sage X3 Services in your computer, the installer asks if you want to update your Sage X3 Services installation.
4. Read the terms of the license agreement, select I accept the terms of this license agreement and click Next.
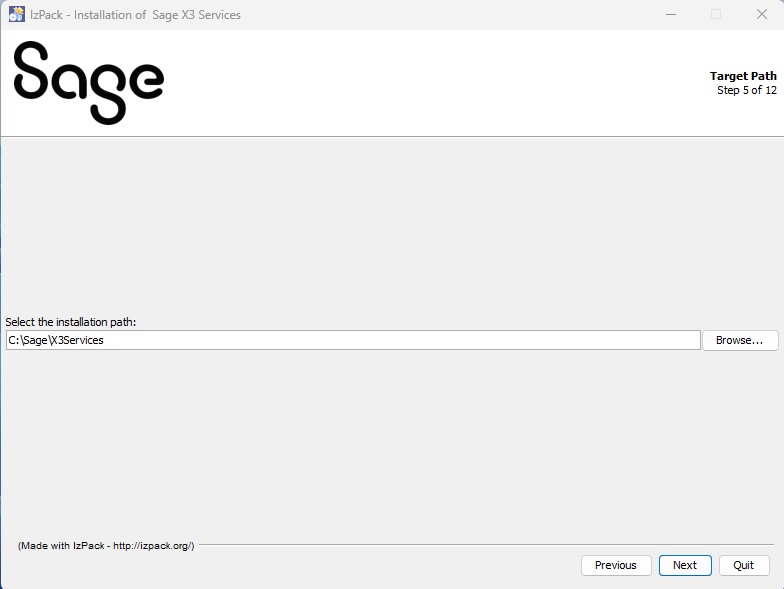
5. Select the installation path where you want to install Sage X3 Services.
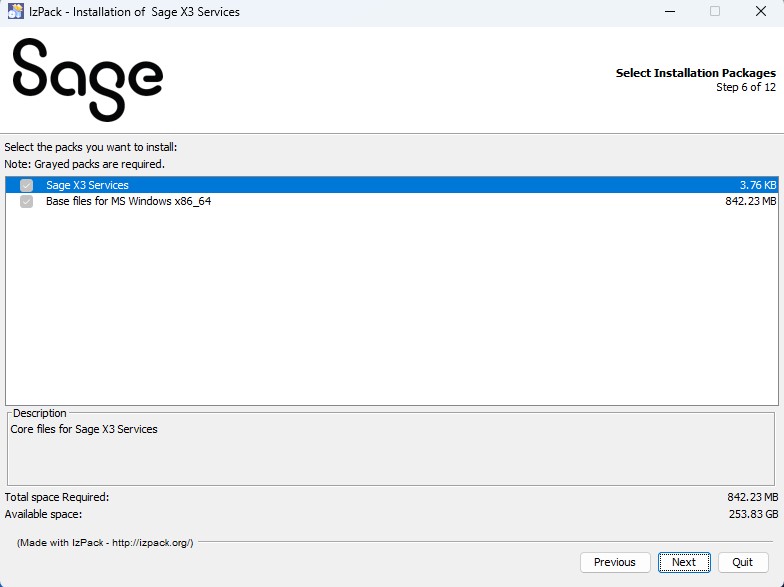
6. Select the Sage X3 Services packages you want to install.
Packages displayed in gray are required to install Sage X3 Services.
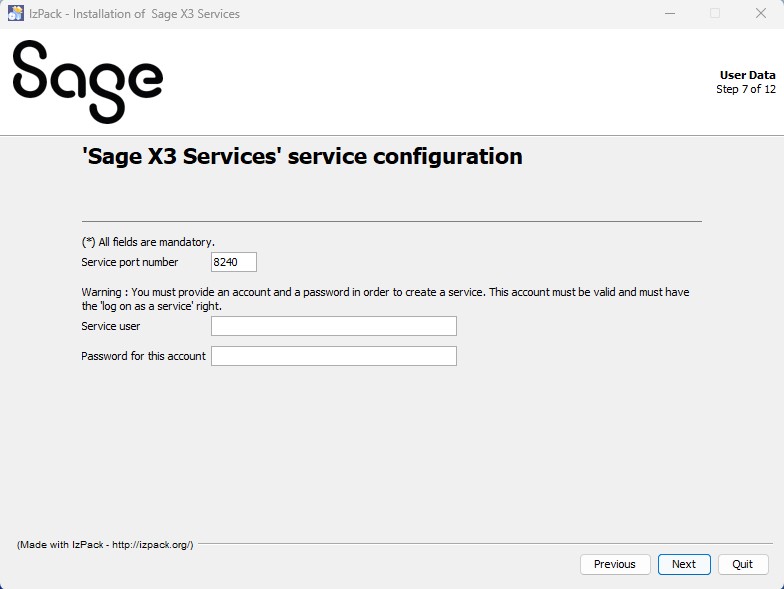
7. Enter the following parameters to configure Sage X3 Services:
-
The service port number used to connect to Sage X3 Services (8420 by default).
-
The service user name and password used to connect to Sage X3 Services.
 Sage does not recommend the use of the localsystem Windows administrative account to configure Sage X3 Services in Production environments. In Production environments, use a dedicated local account or a network account to configure Sage X3 Services.
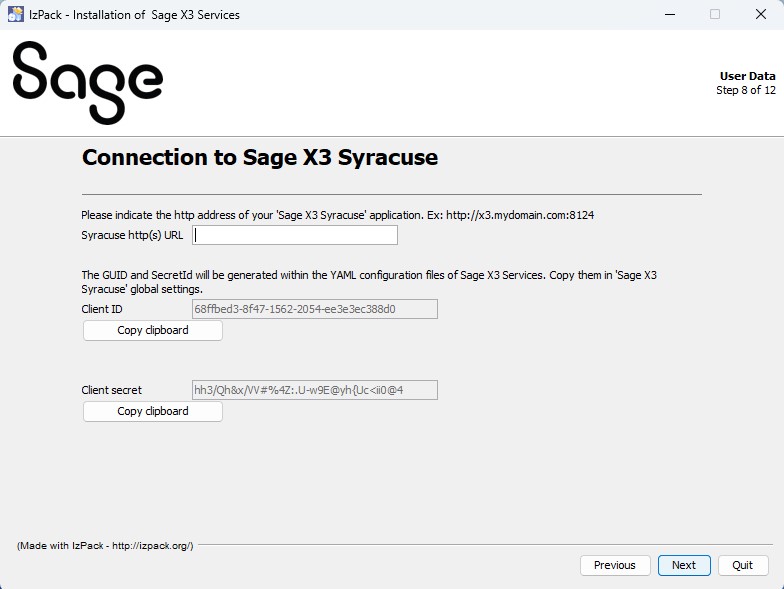
8. Connect to Syracuse server with the HTTP URL. Click Next.
GUID and SecretID are generated in the .yaml configuration files of Sage X3 Services.
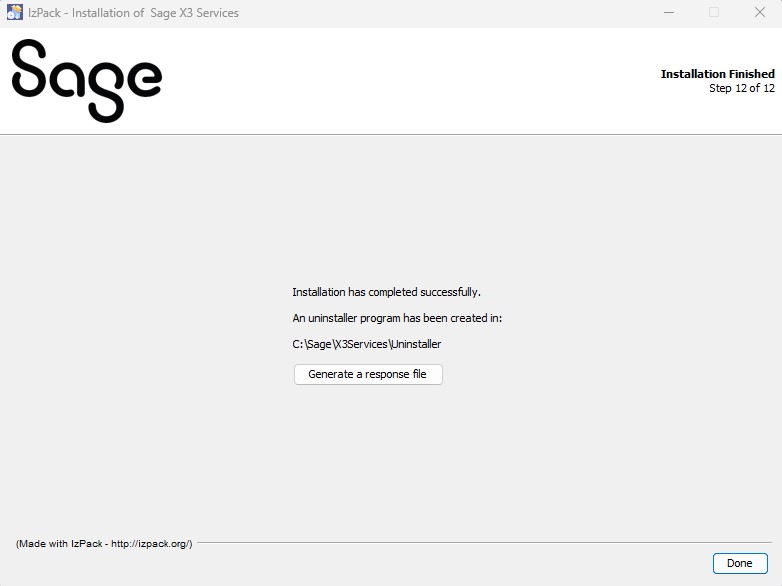
9. Once the installation of Sage X3 Services is finished, click Next.
10. Click Next at the end of the connectivity test.
11. Click Generate a response file if applicable.
This script is an XML file that
stores the settings from the previous dialog boxes. It can be modified and reused in order to run a setup
automatically, for example on another server.
To automatically run an installation script associated
with an XML answer file, run the following command (in a shell with the path to java.exe set and
setup.jar accessible): java -jar setup.jar file_name.xml.
Click Done to conclude the installation procedure for Sage X3 Services.
From 2024 R1 to 2024 R2
- Unzip x3-services-M.m.P.b-win.zip in the target folder (example: D:\SageX3\x3-services).
- In the target folder, a template called xtrem-security-template.yml is provided. You need to duplicate that file and rename it to xtrem-security.yml. In the renamed file, change the
clientIdandsecretto your own values.Note:The
secretmust have at least 20 characters. Go to the lastpass or passwordsgenerator websites to generate a strong secret. - Set the
loginUrlwith the public URL of your server.loginUrl: https://public-syracuse-server.example.com syracuse: clientId: create-your-own-client-id-uuid secret: change-to-use-a-strong-secret-for-your-client-idNote:Respect the rules regarding special characters like backslashes in YML files. You can learn more on this topic on the yaml.org website.
- Setup the client ID and secret in the X3 global settings. Note: The secret should match the secret used to configure GraphQL. The
secretmust have at least 20 characters. Go to the lastpass or passwordsgenerator websites to generate a strong secret.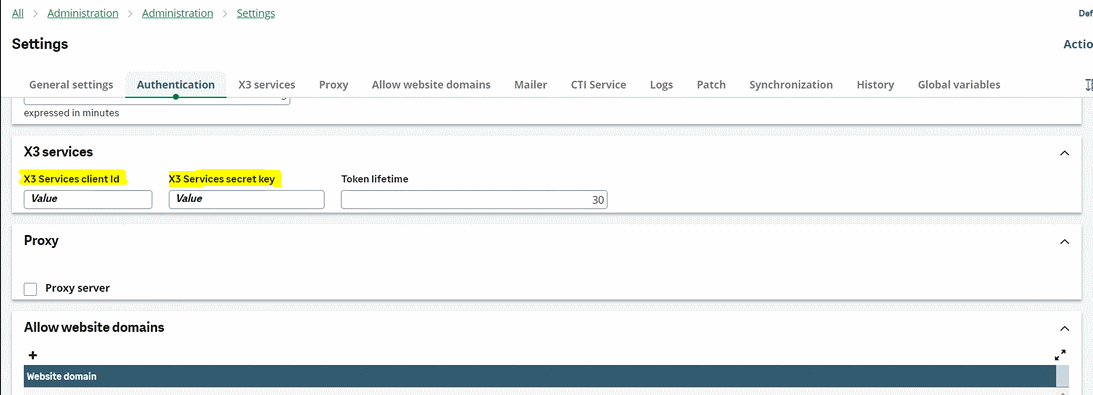
- Make sure you have the
bearerauthentication mode enabled in in the list of authorizedauthmethods in the nodelocal.js file.exports.config = { [...] session: { auth: ["oauth2", "bearer"], } [...] }; - Open a PowerShell prompt with administrator privilege and uninstall any running Sage X3 Services from the previous installation folder.
PS D:\SageX3\x3-services> .\uninstall.ps1 - Enter the following command from the new installation folder.
            PS D:\SageX3\x3-services> .\install.ps1
            Install complete.
            Start complete.
            PS D:\SageX3\x3-services>
This command creates a Sage X3 Services Windows service. Make sure that theInstall completeandStart completemessages return. - Verify that Sage X3 Services is up and running in the Windows services list.

Before 2024 R1
- Unzip x3-services-M.m.P.b-win.zip in the target folder (example: D:\SageX3\x3-services).
- In that folder, edit the xtrem-security.yml file and change the
clientIdandsecretwith your own values.Note: Thesecretmust have at least 20 characters. Go to the lastpass or passwordsgenerator websites to generate a strong secret. - Set the
loginUrlwith the public URL of your server.loginUrl: https://public-syracuse-server.example.com syracuse: clientId: create-your-own-client-id-uuid secret: change-to-use-a-strong-secret-for-your-client-idNote: Respect the rules regarding special characters like backslashes in YML files. You can learn more on this topic on the yaml.org website. - In the Syracuse server installation folder, edit the nodelocal.js file to add or edit the etna
section without the
[...]markers.exports.config = { [...] etna: { security: { clientId: "create-your-own-client-id-uuid", secret: "change-to-use-a-strong-secret-for-your-client-id" } } [...] }; - Make sure you have the
bearerauthentication mode enabled in in the list of authorizedauthmethods in the nodelocal.js file.exports.config = { [...] session: { auth: ["oauth2", "bearer"], } [...] }; - Open a PowerShell prompt with administrator privilege and uninstall any running Sage X3 Services.
PS D:\SageX3\x3-services> .\uninstall.ps1 - Enter the following command from the target folder.
            PS D:\SageX3\x3-services> .\install.ps1
            Install complete.
            Start complete.
            PS D:\SageX3\x3-services>
This command creates a Sage X3 Services Windows service. Make sure that theInstall completeandStart completemessages return. - Verify that the server is up and running. Run
invoke-webrequest http://localhost:8240/pingand make sure thatStatusCode : 200is returned.PS D:\SageX3\x3-services> invoke-webrequest http://localhost:8240/ping StatusCode : 200 StatusDescription : OK Content : {} RawContent : HTTP/1.1 200 OK Vary: Accept-Encoding Connection: keep-alive Keep-Alive: timeout=5 Content-Length: 2 Content-Type: application/json; charset=utf-8 Date: Wed, 04 Nov 2020 17:01:56 GMT ETag: W/"2... Forms : {} Headers : {[Vary, Accept-Encoding], [Connection, keep-alive], [Keep-Alive, timeout=5], [Content-Length, 2]...} Images : {} InputFields : {} Links : {} ParsedHtml : mshtml.HTMLDocumentClass RawContentLength : 2
Change the Sage X3 Services listening port
This step is not mandatory.
By default, port 8240 is used. You can change this by editing the xtrem-config.yml file to add the port parameter with another value. Then restart the service.
Example
port: 8765
storage:
    managedExternal: true