Sage X3 prerequisites
General functional prerequisites
Parameter values (ADPVAL)
Open: Setup > General parameters > Parameter values
To display success messages with only a few technical details, check that the STOTRACE - Stock update trace lever general parameter (STO chapter, MIS group) is set to No trace or to Standard trace.
Activity codes (GESACV)
Development > Data and parameters > Development setup > Activity codes
-
To access the LPN transactions, check that the LPN activity code is activated.
-
To access the Project transactions, check that the PJM activity code is activated.
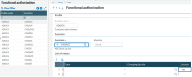
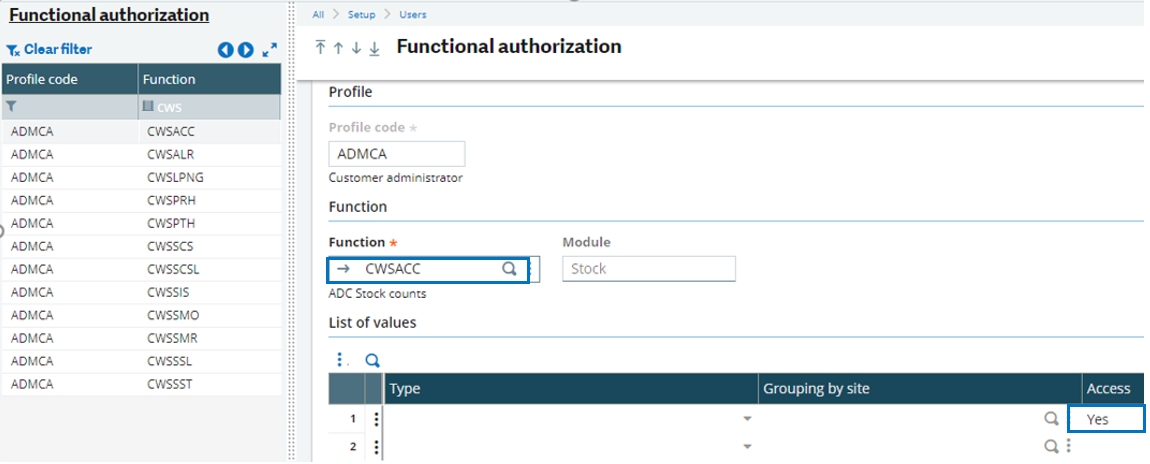
User Functional authorization (GESAFP)
Open: Setup > Users > Functional authorization
Check the operators functional profile authorization:
-
The settings must be consistent with the functions they use. For instance, they must have rights to the Product function (GESITM), even if no specific option is defined.
-
In the Mobile Automation navigation panel, operators can only see transactions they have permissions to use. To give them permissions on a transaction, add the corresponding Sage X3 function code to their functional profile authorization and set the Access field to Yes.
Receipt
| Mobile Automation transaction | Corresponding Sage X3 function code | Sage X3 function |
|---|---|---|
| Purchase receipt | CWSPTH | GESPTH - Receipts |
| Putaway | CWSSSL | FUNSSL - Put-away plan |
| View purchase orders to receive | INQPOR | |
| View purchase order | INQPOH |
Stock control
| Mobile Automation transaction | Corresponding Sage X3 function code | Sage X3 function |
|---|---|---|
| Stock change | CWSSCS | GESSCS - Stock change transactions |
| Stock change by LPN | CWSSCSL | GESSCSL - Stock changes by LPN |
| Location reordering | CWSALR | FUNREO - Reorder plan |
| View stock by location | INQSTOLOC | |
| View stock by product-site |
INQSTOPRO |
|
| View stock by LPN | INQSTOLPN | |
| Stock count | CWSACC | GESSNL - Counts |
Picking
| Mobile Automation transaction | Corresponding Sage X3 function code | Sage X3 function |
|---|---|---|
| Pick ticket | CWSPRH | GESPRH - Pick tickets |
LPN
| Mobile Automation transaction | Corresponding Sage X3 function code | Sage X3 function |
|---|---|---|
| LPN grouping | CWSLPNG | GESLPNOPE - License plate number operations |
| LPN linking | CWSLPNA | GESLPNAFF - License plate number assignment |
| LPN splitting | CWSLPNS | GESLPNOPE - License plate number operations |
| LPN unlinking | CWSLPNU | GESLPNOPE - License plate number operations |
Transfer
| Mobile Automation transaction | Corresponding Sage X3 function code | Sage X3 function |
|---|---|---|
| Intersite | CWSSIS | GESSIS - Intersite transfers |
| Subcontracting | CWSSST | GESSST - Subcontract transfers |
Other
| Mobile Automation transaction | Corresponding Sage X3 function code | Sage X3 function |
|---|---|---|
| Miscellaneous issue | CWSSMO | GESSMO - Miscellaneous issues |
| Miscellaneous receipt |
CWSSMR |
GESSMR - Miscellaneous receipts |
| Stock label printing | CWSSLP | |
| Production label printing | CWSPLP |
Functional prerequisites for printing labels and documents
These prerequisites are the same as for Sage X3 printing. As a reminder, here is a recap:
Products (GESITM)
Open: Common data > Products > Products
In the Units section, enter a STK label format.
Entry transactions
-
Put-away plans (GESSRG)
Open: Setup > Stock > Entry transactions
In the Stock section, select the Stock label value as the Printing option.

-
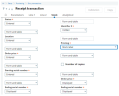
Receipt (GESPTR)
Open: Setup > Purchasing > Entry transactions
-
In the Parameters section, select the report code to be printed as the Receipt note.
-
In the Stock section, you need to select one of the following values as the Printing option:
-
Stock label, to print the stock labels only
-
Created container label, to print only the labels for the LPNs created "on the fly"
-
Stock label and created container label, to print both the stock labels and the labels for the LPNs created "on the fly"
-
-


-
Stock change transactions (GESSCT)
Open: Setup > Stock > Entry transactions
In the Stock section, select the Stock label value as the Printing option.
 Note - informationThe Stock change transaction function is used for Stock changes, Intersite transfers and Subcontract transfers.

-
Pick tickets (GESPRT)
Open: Setup > Stock > Entry transactions
In the Parameters section, perform the following actions:
-
Select the report code to be printed as the Pick ticket document.
-
Set the Auto print field to Yes.
-

-
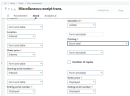
Misc.Receipt (GESSRT)
Open: Setup > Stock > Entry transactions
In the Stock section, as the Printing option, you need to select one of the following values:
-
Stock label to print the stock labels only.
-
Created container label to print only the labels for the "on the fly" created LPNs.
-
Stock label and created container label to print both the stock labels and the labels for the "on the fly" created LPNs.
-

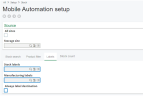
Mobile Automation setup (FUNADCSEARCH)
Open: Setup > Stock > Mobile Automation setup
-
In the Labels tab, select the reports to be used when printing labels from the Stock label printing and Production label printing transactions. You can select the same reports for all storage sites or select different reports for different storage sites.
-
Select the Always label destination checkbox to prevent the user from selecting a printer different from the default printer defined in the Mobile Automation, in the Print destinations settings.

The Print destinations settings.
The functional prerequisites in the Stock label printing and Production label printing transactions.