Executing tests
There are two automated test methods.
The first method runs the automated test in debug mode. You can use this method to verify that the test executes properly or to debug and update an existing automated test.
The second method runs the tests using the .\atp cloud-chrome command. You can use this method to verify the execution of multiple automated tests simultaneously.
Information about chromeDriver
Sage X3 Automated Test Platform5.0.0 uses WebdriverIO 9 to download the version of chromeDriver compliant with the version of the browser used during the execution.
When a new version of chomeDriver is required, the test launch will take more time to download the version compliant with your browser. The next execution is faster.
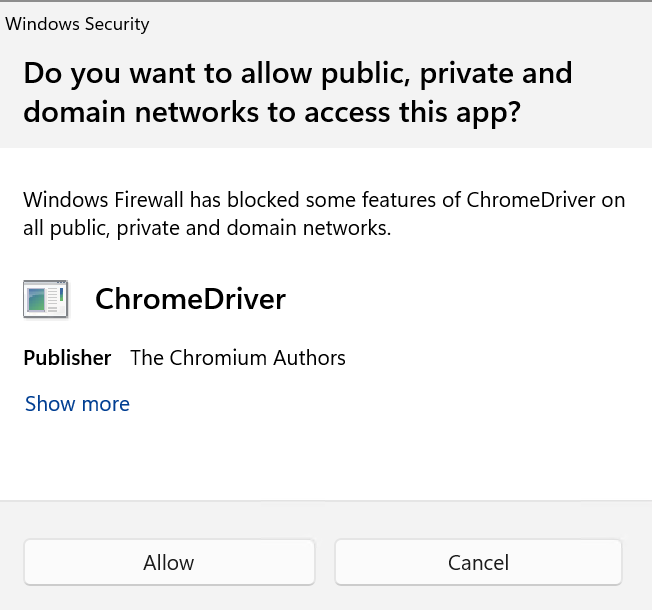
On the first execution you will be asked to grant chromeDriver the rights to be executed on your local machine:
Testing in debug mode
Once your automated test is ready and your steps have been defined, you can execute it from VS Code.
-
Select the automated test you want to execute.
Example: 0302A-OpenLegacyFunction
-
Press F5 to launch the execution in debug mode.
You can stop a test using commands on the toolbar:

Or, if the toolbar does not display, press Ctrl+C.
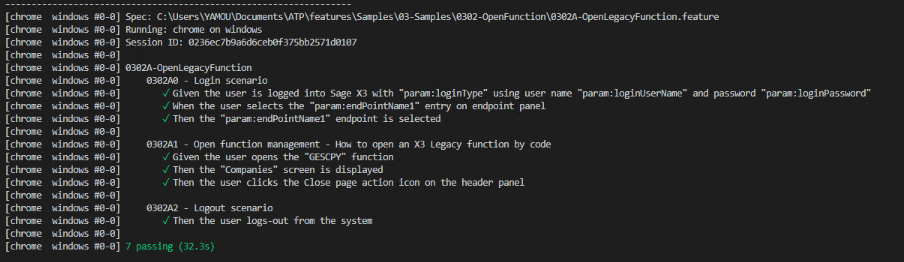
While executing the test, the feature, the scenario, and the step definitions progress are displayed in the terminal.
When a test is complete, you can see the test summary in the VS Code terminal.
You can also displays test results in an Allure report.
Running simultaneous tests in VS Code
To run multiple tests simultaneously, you need to define the following parameters in the parameters-cloud-chrome file before executing the .\atp cloud-chrome command.
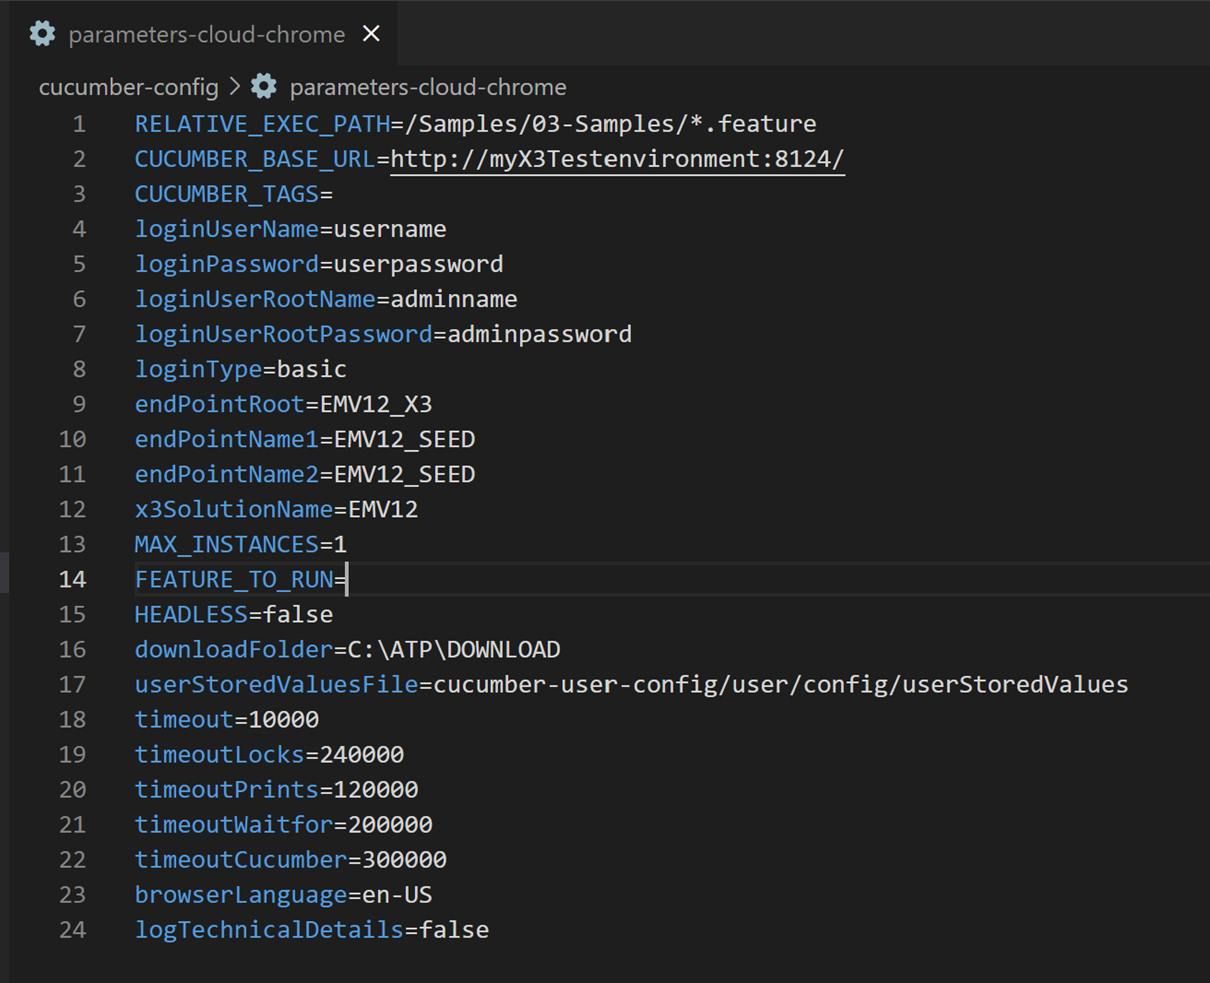
Parameter settings:
-
RELATIVE_EXEC_PATH: Enter the relative path of automated tests required to be executed (required)
-
CUCUMBER_BASE_URL: Enter the URL of the Sage X3 test environment to connect to (required)
-
CUCUMBER_TAGS: Use tags to filter automated tests that have a specific tag or a combination of tags (optional).
-
If this parameter is left empty, all the automated tests defined in the RELATIVE_EXEC_PATH parameter are executed.
-
Several Cucumber Tags can be listed using the condition and or or.
-
Example: (@Tag1 and @Tag2) or @Tag3)
-
-
Using the example above, the features that are defined with both tags (@Tag1 and @Tag2) or defined with the tag (@Tag3) are selected.
-
-
loginUserName: Enter the required X3 user to execute the automated tests on the applicative folder of your Sage X3 test environment. This parameter is mandatory.
-
loginPassword: Enter the required X3 user password to execute the automated tests on your Sage X3 test environment. This parameter is mandatory.
-
loginUserRootName: Enter the required X3 user to connect to the X3 root folder of your Sage X3 test environment.
This parameter is optional and only needs to be defined if you have automated tests requiring connection to the X3 root folder of your Sage X3 test environment.
-
loginUserRootPassword: Enter the required X3 user password to connect to the X3 root folder of your Sage X3 test environment.
This parameter is optional and only needs to be defined if you have automated tests requiring connection to the X3 root folder of your Sage X3 test environment.
-
loginType: Select one:
-
basic: This option uses a basic connection.
-
sageid: This option uses the loginUsername and the email address used for the Sage ID account.
-
-
endpointRoot: Enter the endpoint description of the X3 root folder of your Sage X3 test environment.
This parameter is optional and only needs to be defined if you have automated tests requiring connection to the X3 root folder of your Sage X3 test environment.
-
endPointName1: Enter the primary endpoint description of your test folder where the automated tests will execute the test (required).
-
endPointName2: Enter a secondary endpoint description of your test folder where the automated tests will execute the test (required if you use this in your automated test feature file).
-
x3SolutionName: This parameter is used to define the X3 solution name. This parameter is required if you use it in your automated tests (feature file).
-
MAX_INSTANCES: Enter a value between 1 and 4.
-
When = 1, the automated tests are executed sequentially.
-
When > 1, up to 4 automated tests are executed in parallel.
-
Refer to the Executing test in parallel chapter for recommendations on how to execute tests in parallel.
-
- timeout
-
timeout parameter indicates how long the robot should wait before returning an error when the element could not be found, the state of the element is incorrect, or the actual value found is different from the expected one.
-
Parameter default value: 10000 ms.
-
timeout parameter must not been set with a value below 10000 ms.
-
timeout parameter can’t exceed timeoutCucumber parameter.
-
- timeoutLocks
-
timeoutLocks parameter indicates how long the robot can wait when the following step definition is executed: "the user adds the lock entry" and before returning a functional error message to the user.
-
Parameter default value: 240000 ms.
-
Default value when the parameter is not defined: 240000 ms.
-
timeoutLocks parameter can’t exceed timeoutCucumber parameter.
-
-
timeoutPrint:
-
timeoutPrint parameter indicates how long the robot can wait when the following step definition is executed: "the user waits for a report printout with message" and before returning an error message to the user.
-
Parameter default value: 120000 ms.
-
Default value when the parameter is not defined: 120000 ms.
-
timeoutPrint parameter can’t exceed timeoutCucumber parameter.
-
-
timeoutWaitfor:
-
timeoutWaitfor parameters indicates how long the robot can wait for Sage X3 or Sage X3 Warehousing feedbacks (e.g screen validation, page loading, open a function etc..) before returning a functional error message to the user.
-
Parameter default value: 200000 ms.
-
Default value when the parameter is not defined: 200000 ms.
-
timeoutWaitfor parameter can’t exceed timeoutCucumber parameter.
-
-
timeoutCucumber
-
timeoutCucumber parameters indicates the maximum time the robot can wait before returning a timeout error message to the user.
-
Parameter default value: 300000 ms.
-
Default value when the parameter is not defined: 300000ms.
-
-
FEATURE_TO_RUN: Use this parameter to filter the specific automated test to execute (optional).
-
If this parameter is empty, all the automated tests selected by the RELATIVE_EXEC_PATH parameter are executed.
-
You cannot define a list of features. The limit is one feature.
-
To filter several automated tests, use the CUCUMBER_TAGS parameter.
-
-
HEADLESS: Select one:
-
false: The Chrome browser displays during execution.
-
true: This executes in silent mode, and the Chrome browser does not display during the execution.
-
-
downloadFolder: Default path where the files and reports are generated by Sage X3.
-
userStoredValuesFile: Define the path of the user-stored-values file that will be loaded before each test is executed.
This parameter is optional.
To learn more about user stored values, refer to the Using user stored values chapter.
-
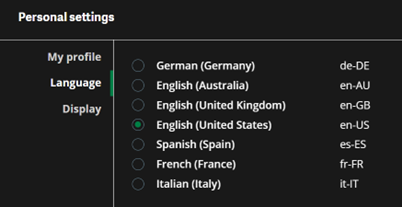
browserLanguage: Use this parameter to define the language of Chrome browser (to differentiate it from the step definition aimed at changing the language of Sage X3).
-
The response of the GraphQL query / mutation returned by SageX3 depends on the language of the Browser.
-
If you don't define this parameter, the browser will be displayed by default in language en-US.
-
The language codes are the same as in Sage X3. (Arabic language is not supported)

-
-
logTechnicalDetails:
-
true: all the technical information is displayed in the terminal while running the tests.
-
false: the technical information displayed in the terminal is limited while running the tests.
-
After the parameters have been defined, you're ready to run the tests.
-
Enter the .\atp cloud-chrome command in the terminal and then press Enter:

This command executes the automated tests in the folders according to the parameter value.
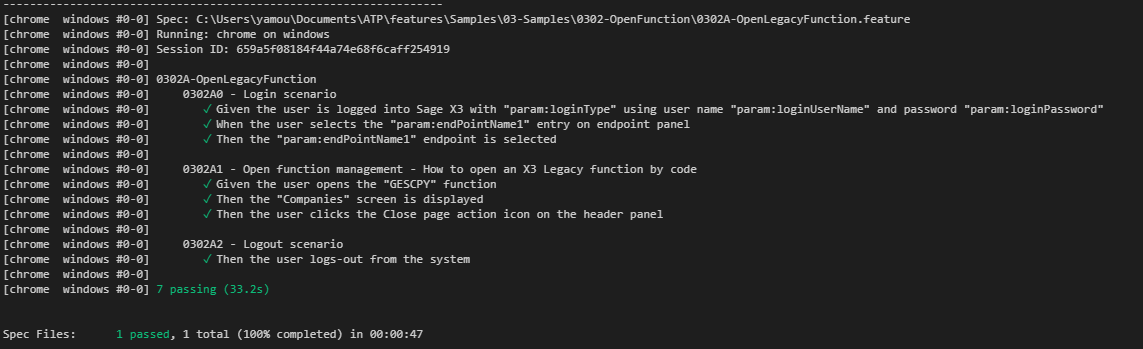
The MAX_INSTANCE parameter indicates the number of executors. While running the test, the feature, the scenario, and the step definitions progress are displayed in the terminal.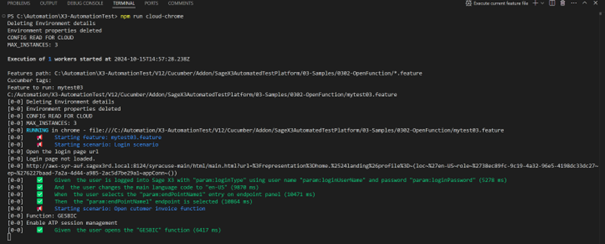
-
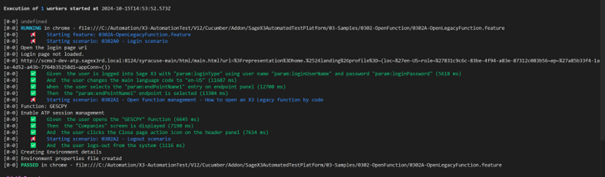
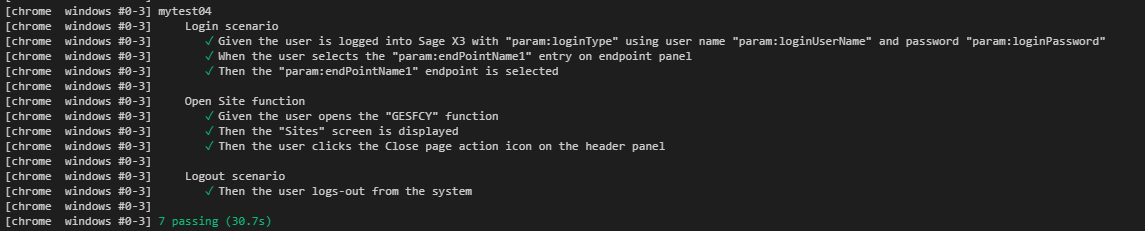
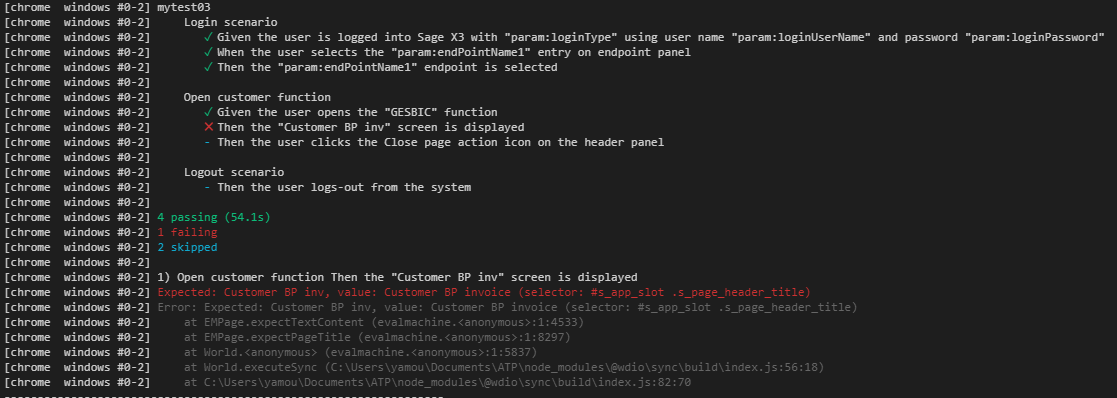
When all the automated tests have been executed, you see a summary of all the tests, passed or failed.
Example of an automated test that passed:
Example of an automated test that failed:
-
If one of the automated tests failed, the .\atp cloud-chrome command stops with the following error:
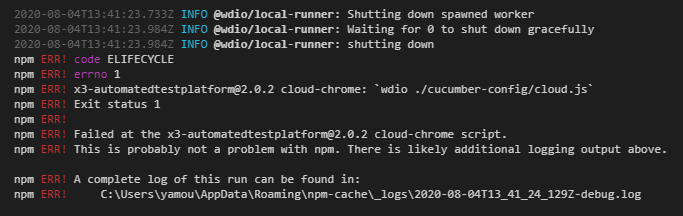
To check the result of the automated tests executed, generate an Allure report.
Executing tests in parallel
To run tests in parallel refer to methodology chapter: Executing tests in parallel.